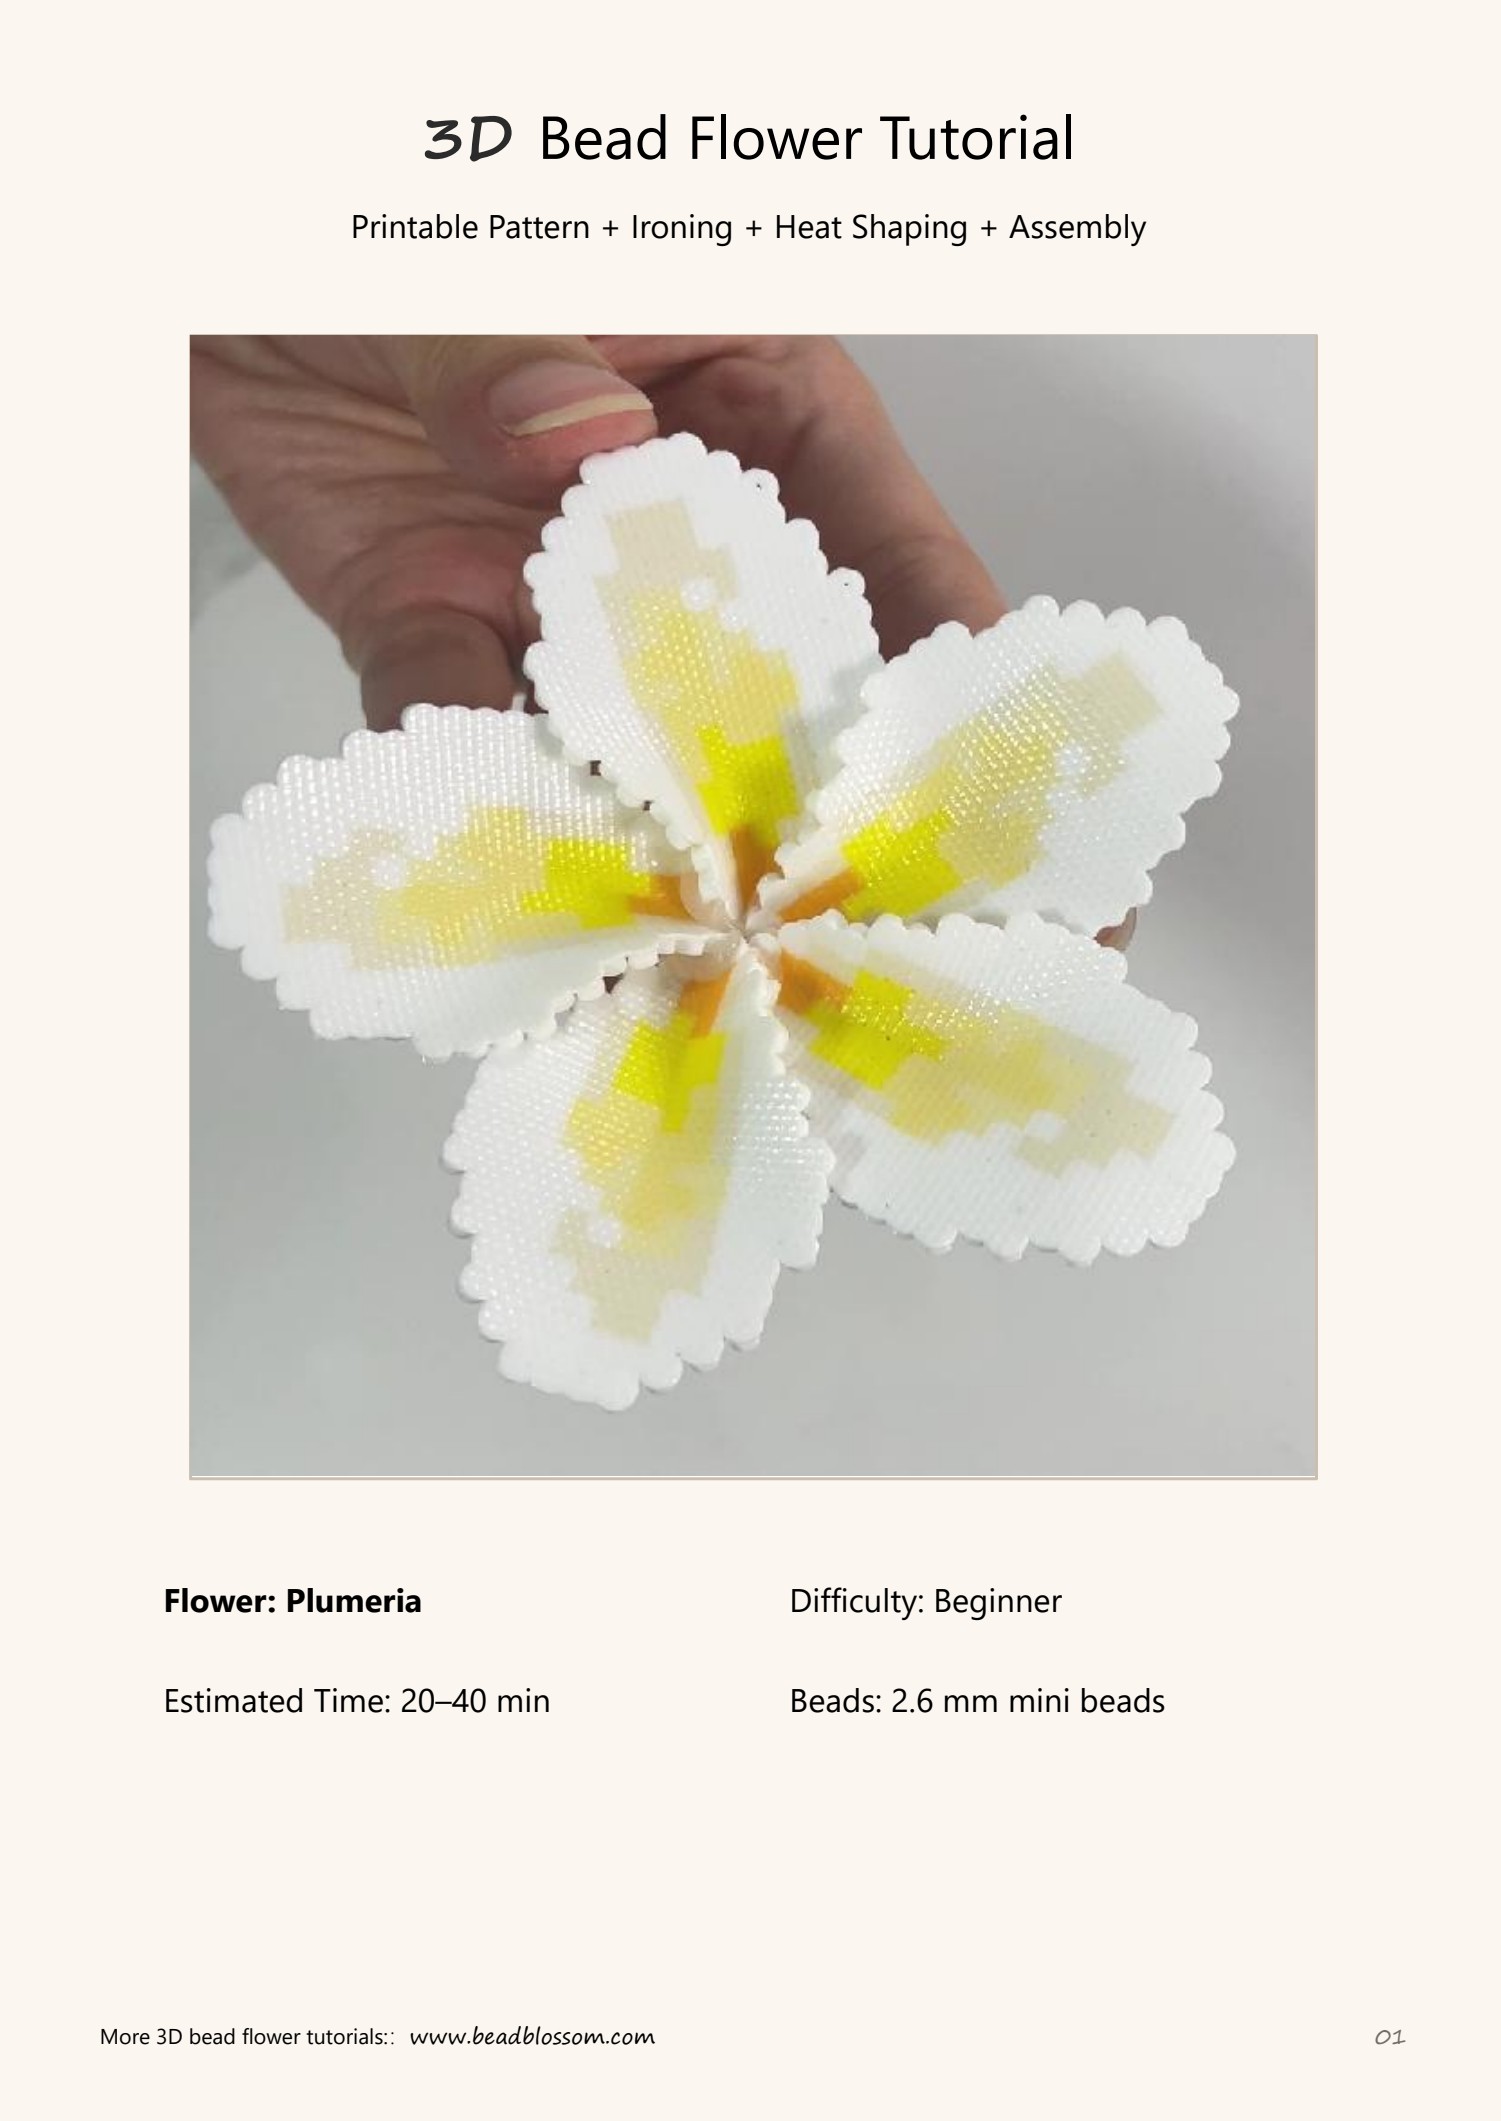
This beginner project starts with one repeatable petal shape. A light fuse keeps each piece flexible enough to curve while warm, and a simple overlap closes the five petals into a balanced flower.
Prepare your workspace
What you will need
- 2.6 mm mini fuse beads in white, cream, yellow, and warm orange
- 51 x 51 clear pegboard
- Masking tape, bead scraper, tweezers, and bead pen
- Ironing sheet or baking cloth and a household iron
- Heat-resistant gloves and a heat-safe work surface
- Low-temperature hot glue gun
Know before you begin
Inside the complete PDF
- Printable petal pattern and color guide
- Materials and tools checklist
- Ironing and heat-shaping instructions
- Five-petal assembly and glue placement guide
- Common mistakes and fixes
A useful preview
Tutorial workflow preview
This overview shows the workflow. Full-size charts, precise color references, complete photos, and troubleshooting remain inside the downloadable PDF.
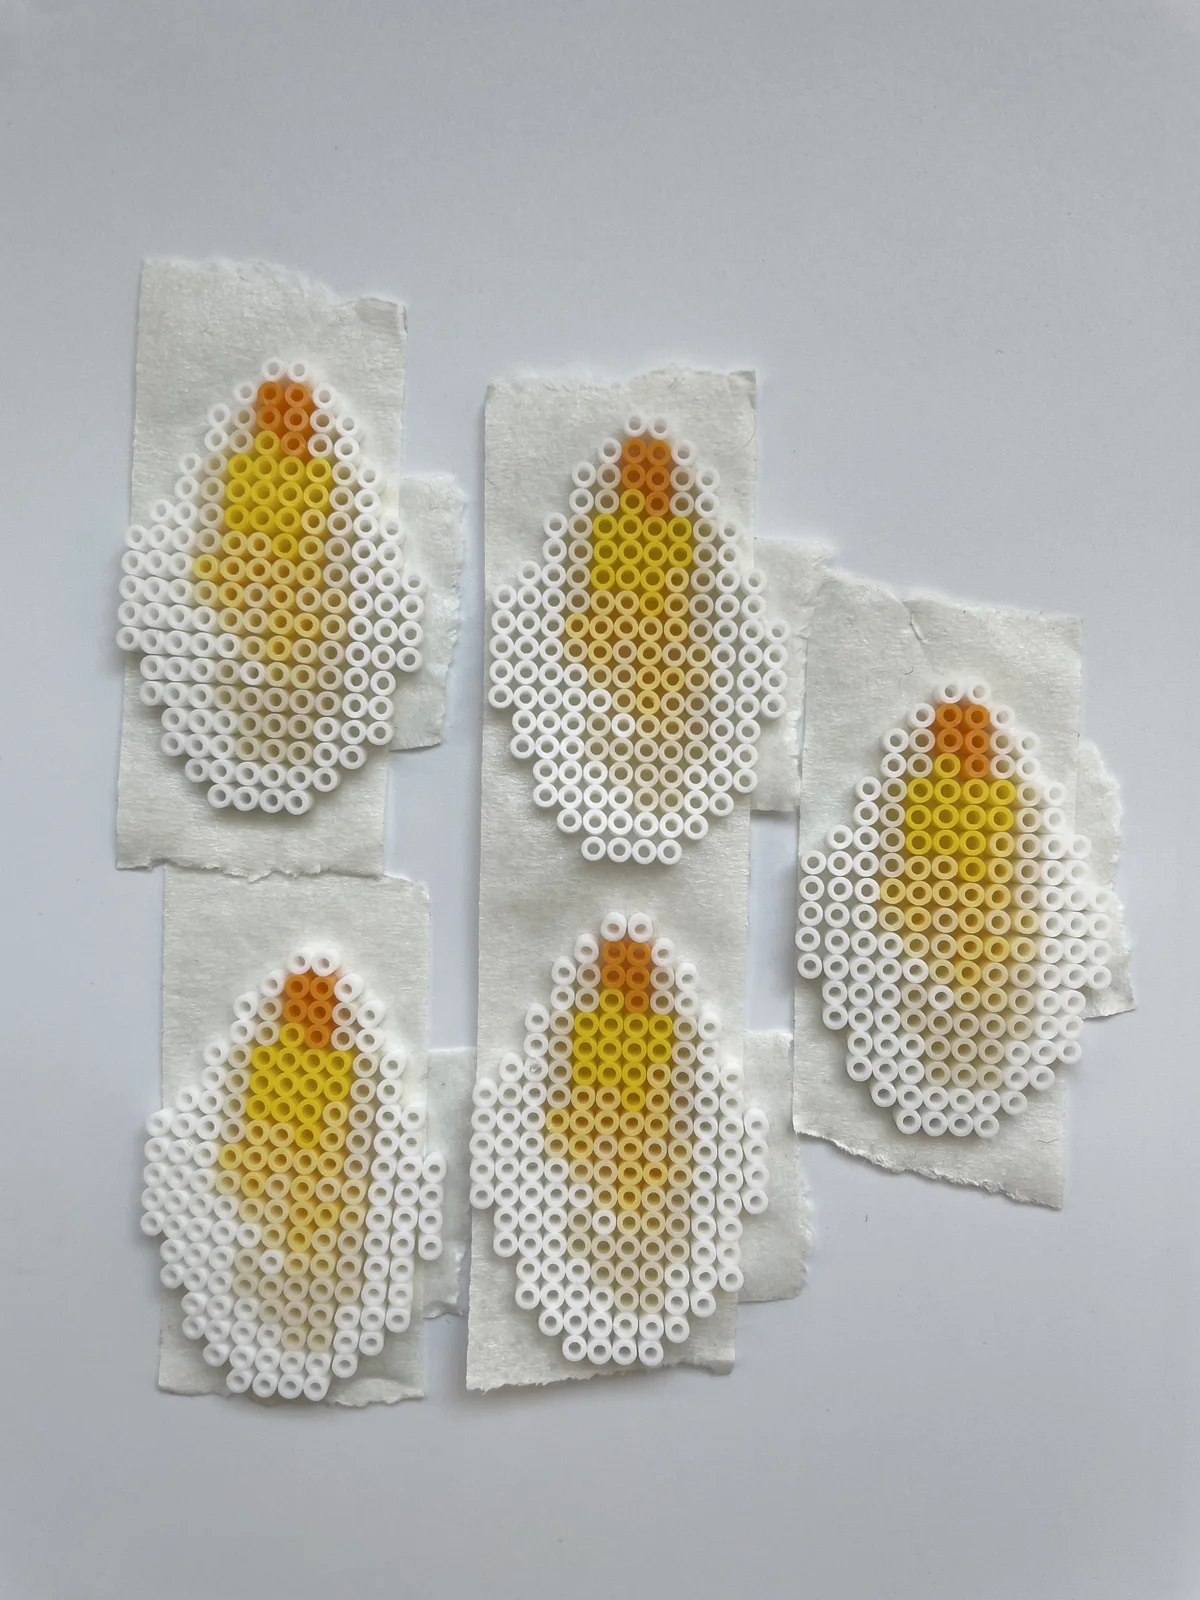
Prepare five matching petals
Use the printable petal chart in the full PDF five times. Keep the direction, center stripe, and edge outline consistent across the set.
Fuse lightly and evenly
Work in small circles at medium heat, aiming for a secure piece that still has visible bead openings and enough flexibility for shaping.
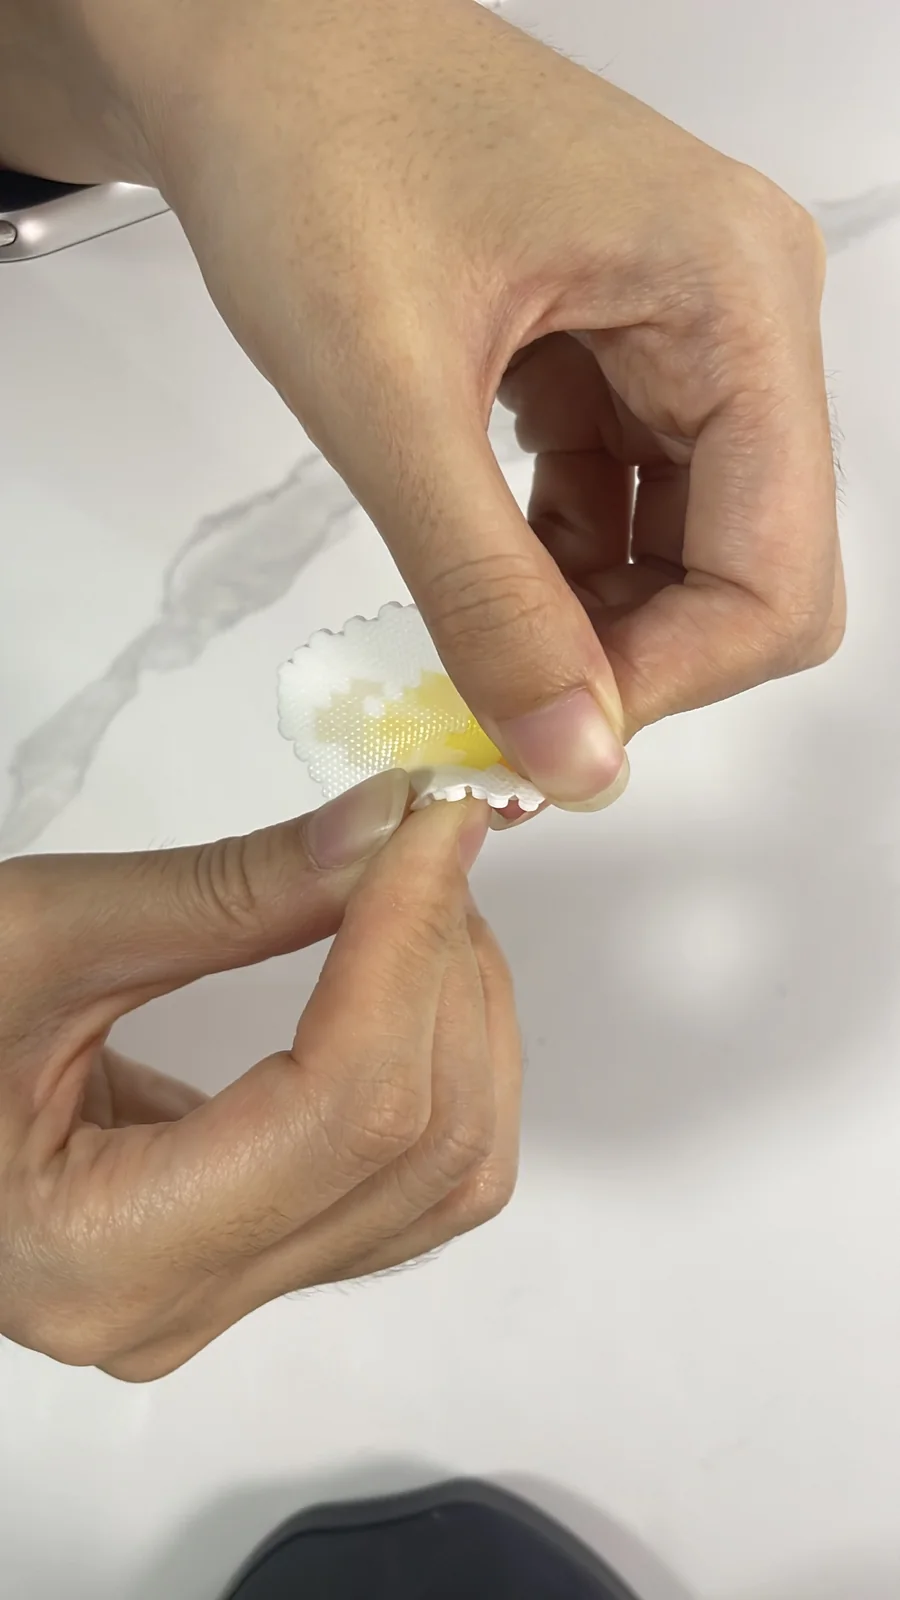
Shape while the petal is warm
Support the base, lift the sides, and curl the tip inward. Hold the curve for a few seconds before letting the piece cool.
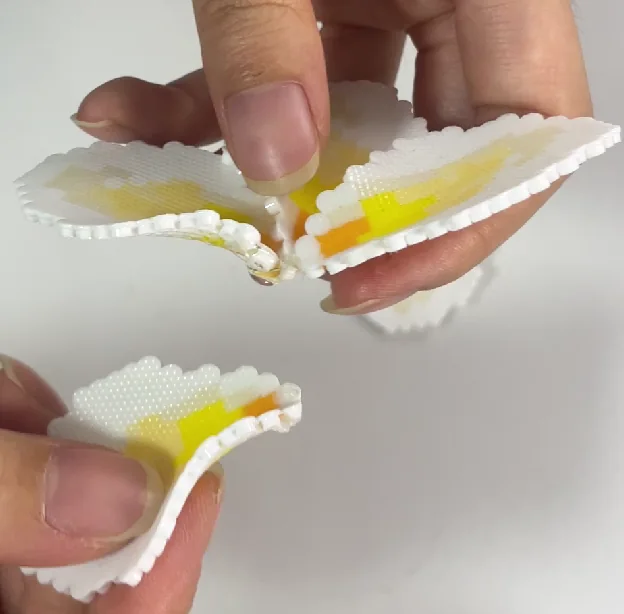
Build a five-petal ring
Overlap each petal at the base and rotate the flower as you work. The last petal tucks beneath the first to close the circle cleanly.
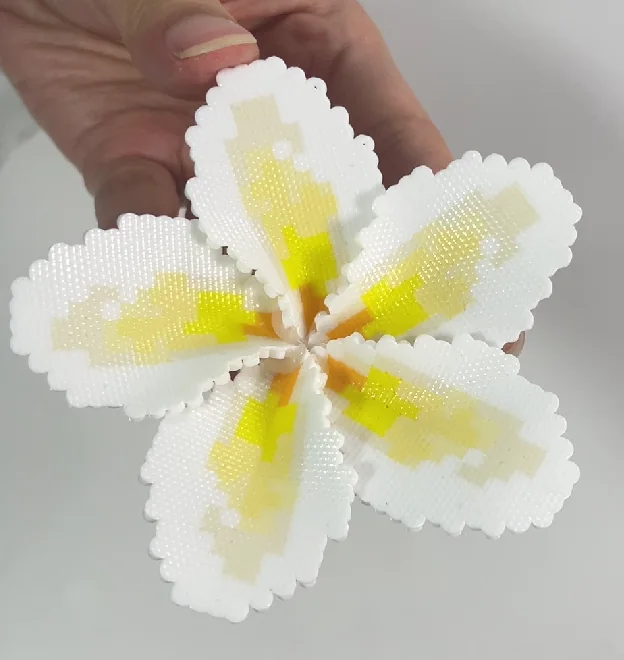
Check the finished silhouette
View the flower from the front and side, then make small warm adjustments so the petals open at similar angles.
Original studio photos
From flat pieces to finished flower
Keep the full guide beside you
Get the printable tutorial
Open Gumroad for checkout, instant digital delivery, and access from your receipt.
Digital product only. No physical beads, tools, or finished flower will be shipped. Paid files are delivered by Gumroad and are not hosted publicly on this website.