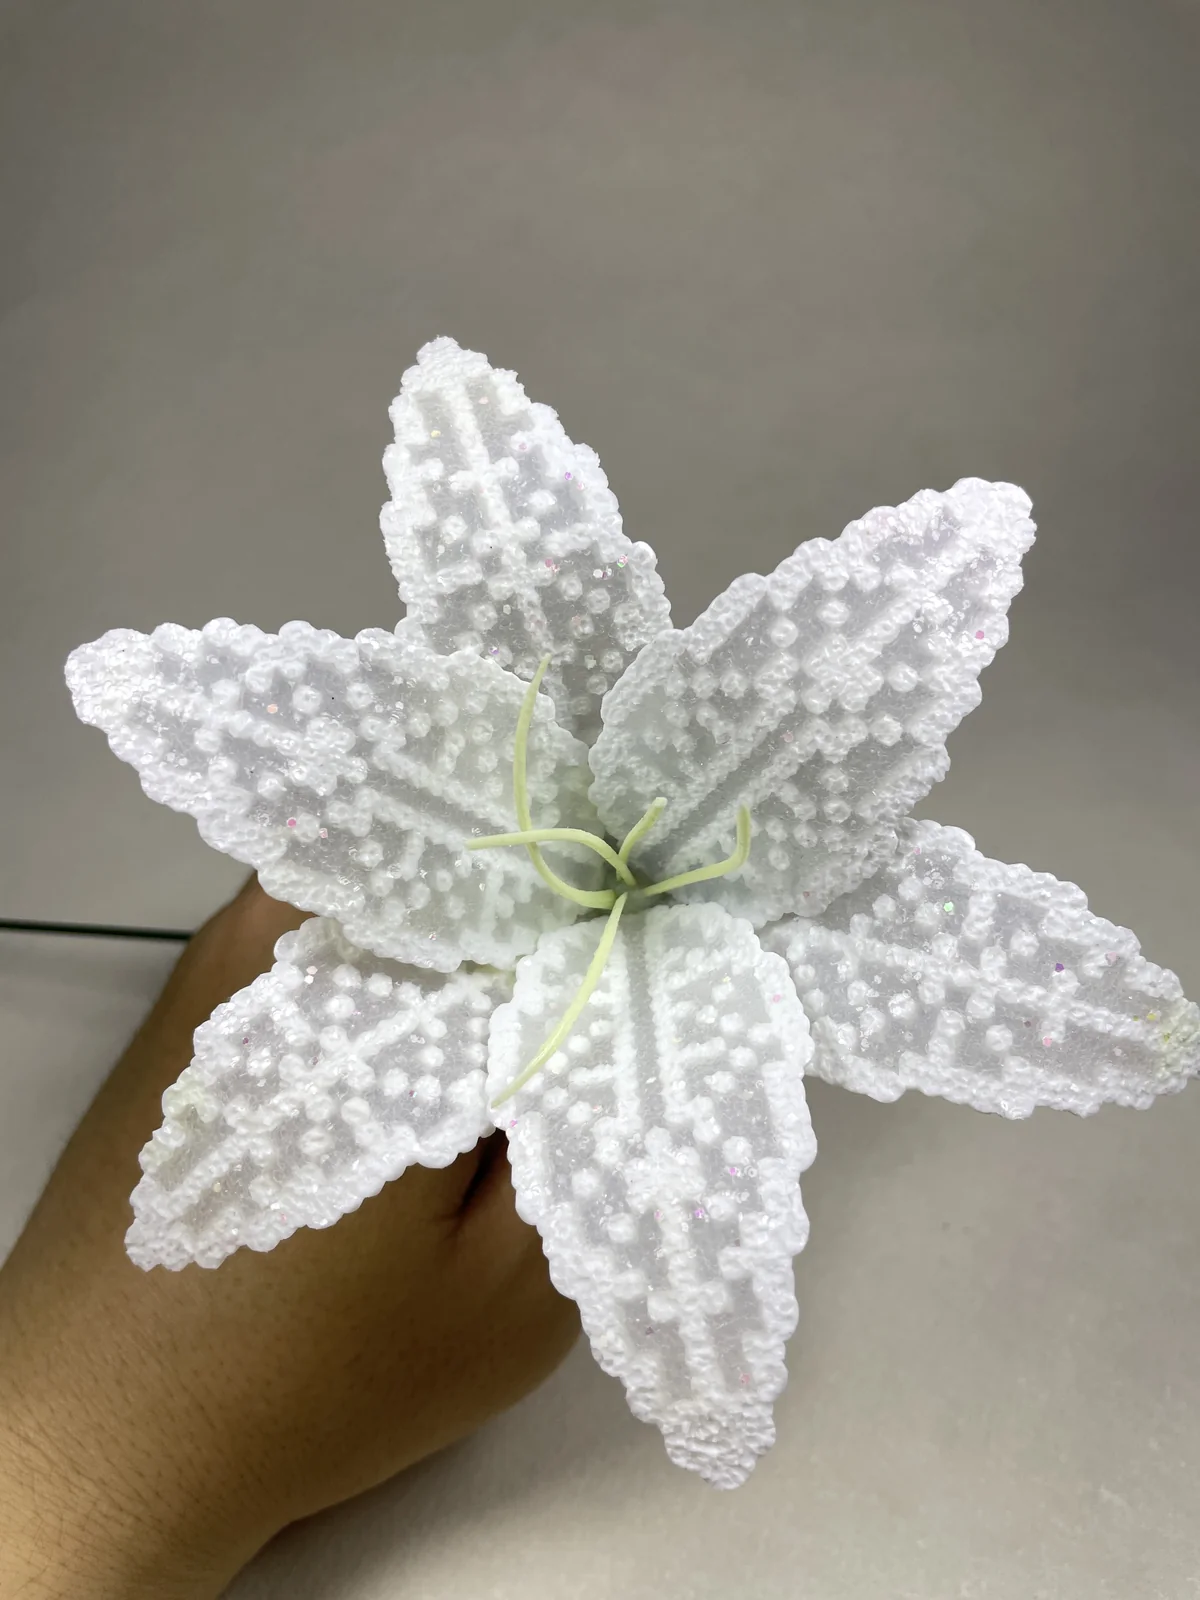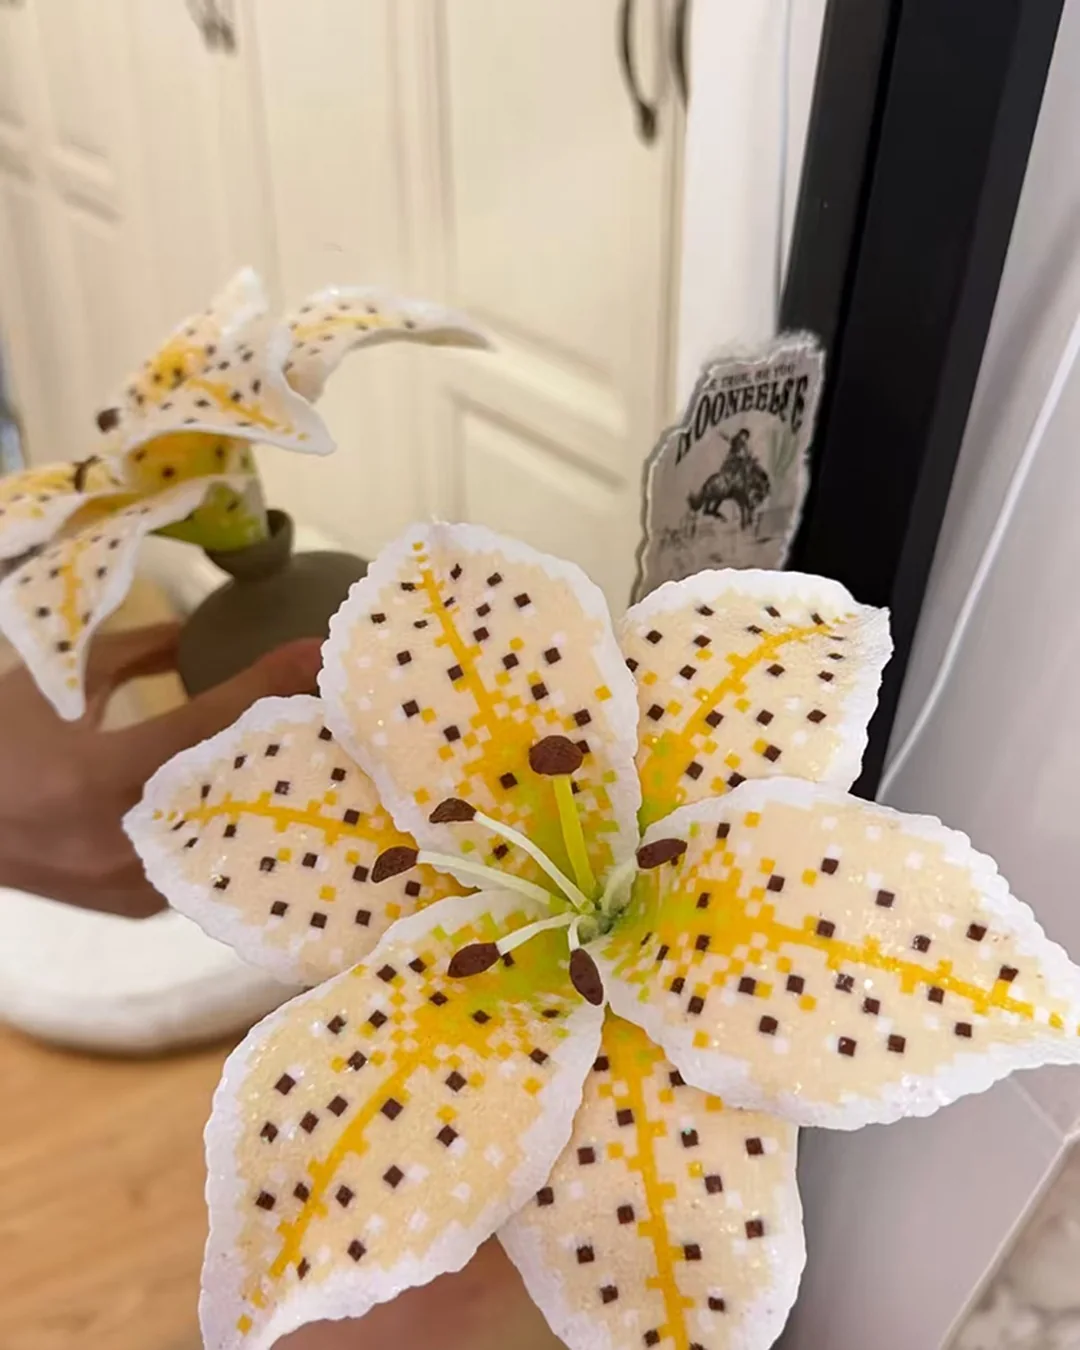
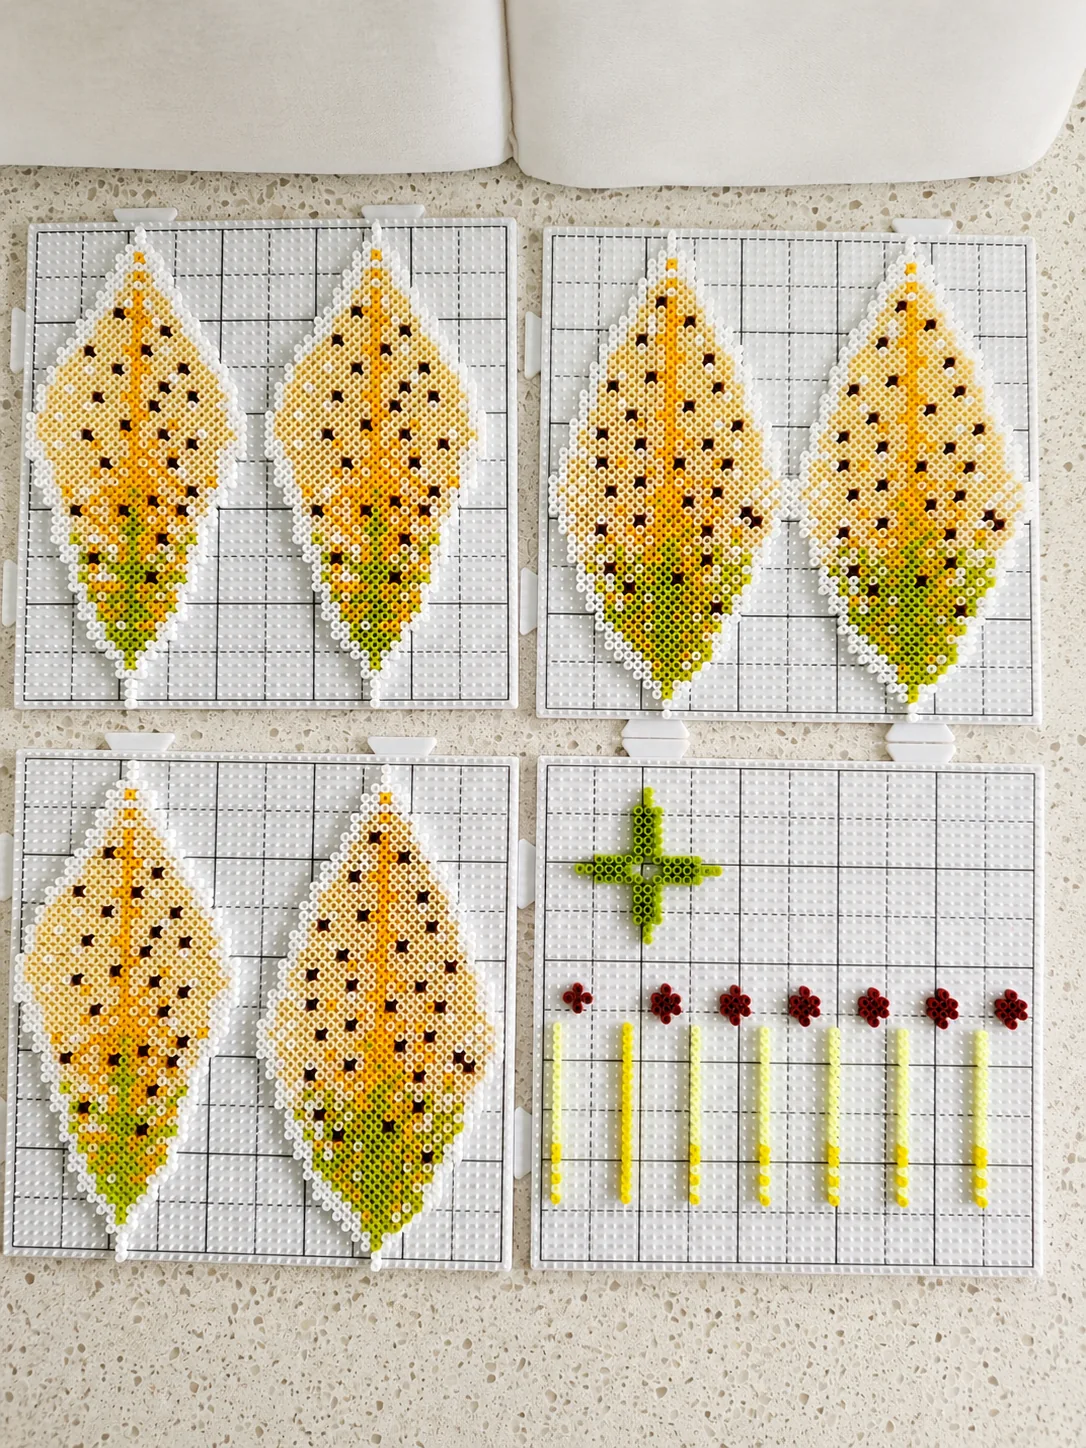
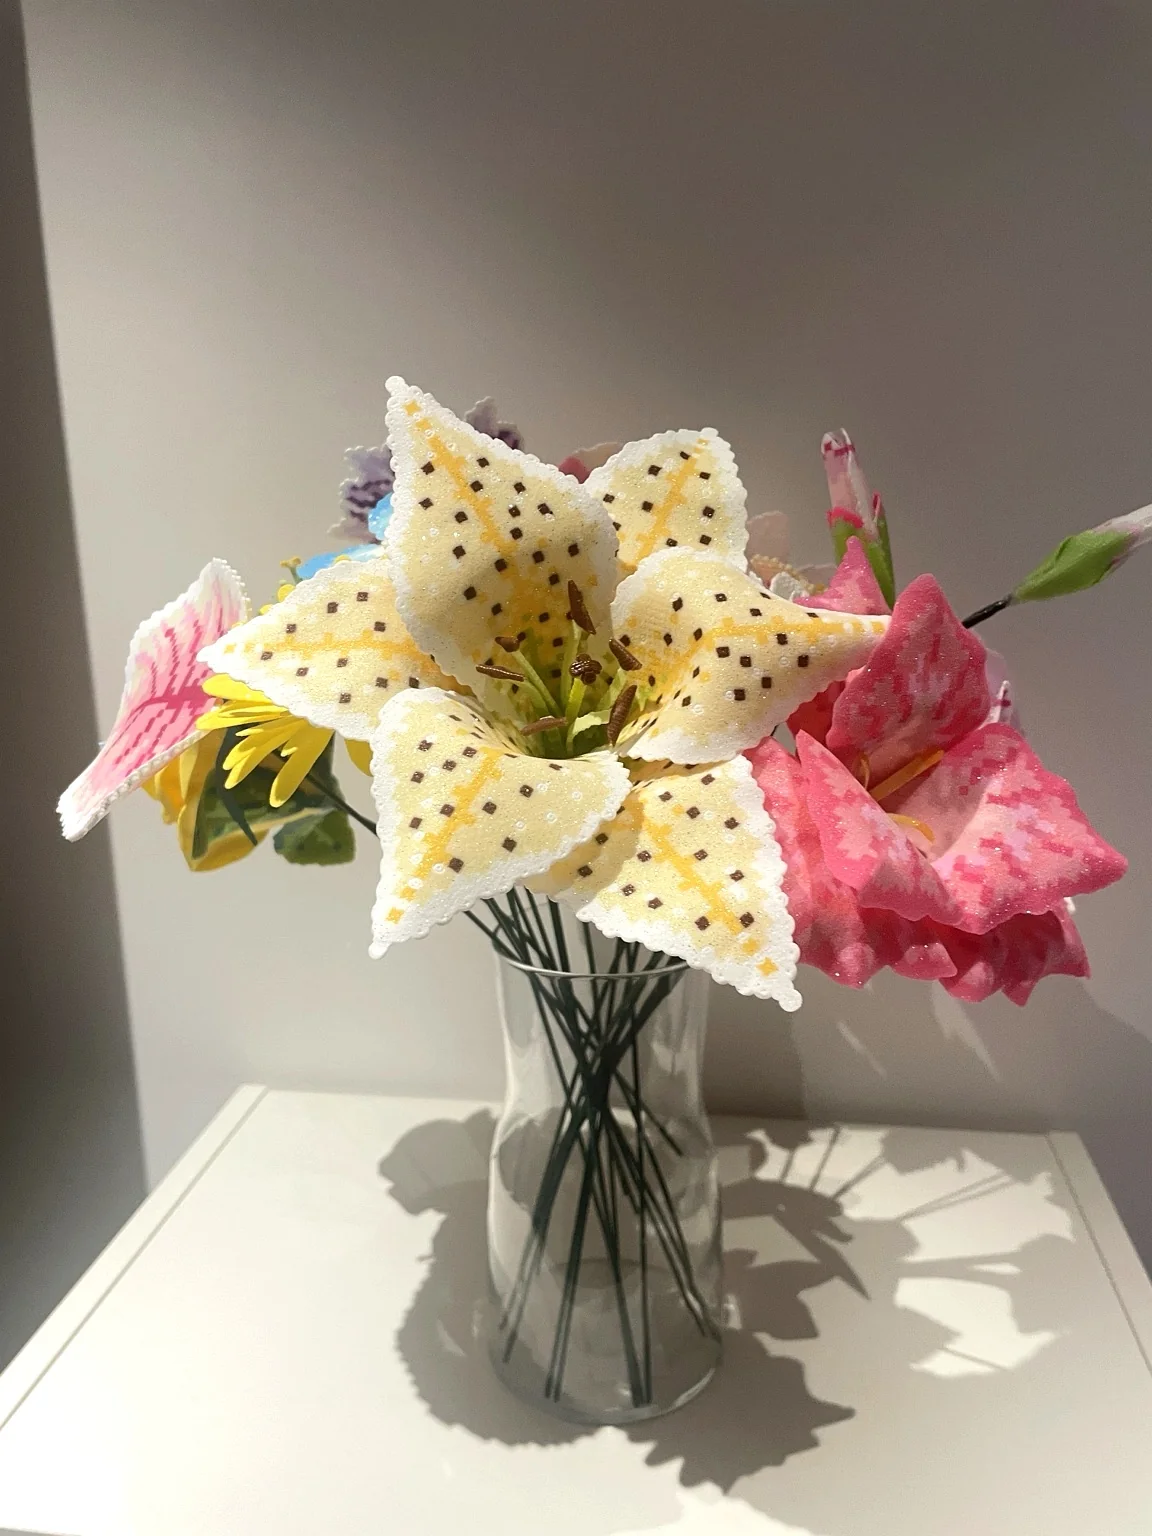
This original studio lily is designed around six long pointed petals, a warm yellow center stripe, brown spotting, and a dimensional stamen cluster. The images below show the real sequence from flat components to a finished bouquet flower.
Prepare your workspace
What you will need
- Fuse beads in white, cream, yellow, lime, brown, and accent shades
- Large square pegboard or connected boards
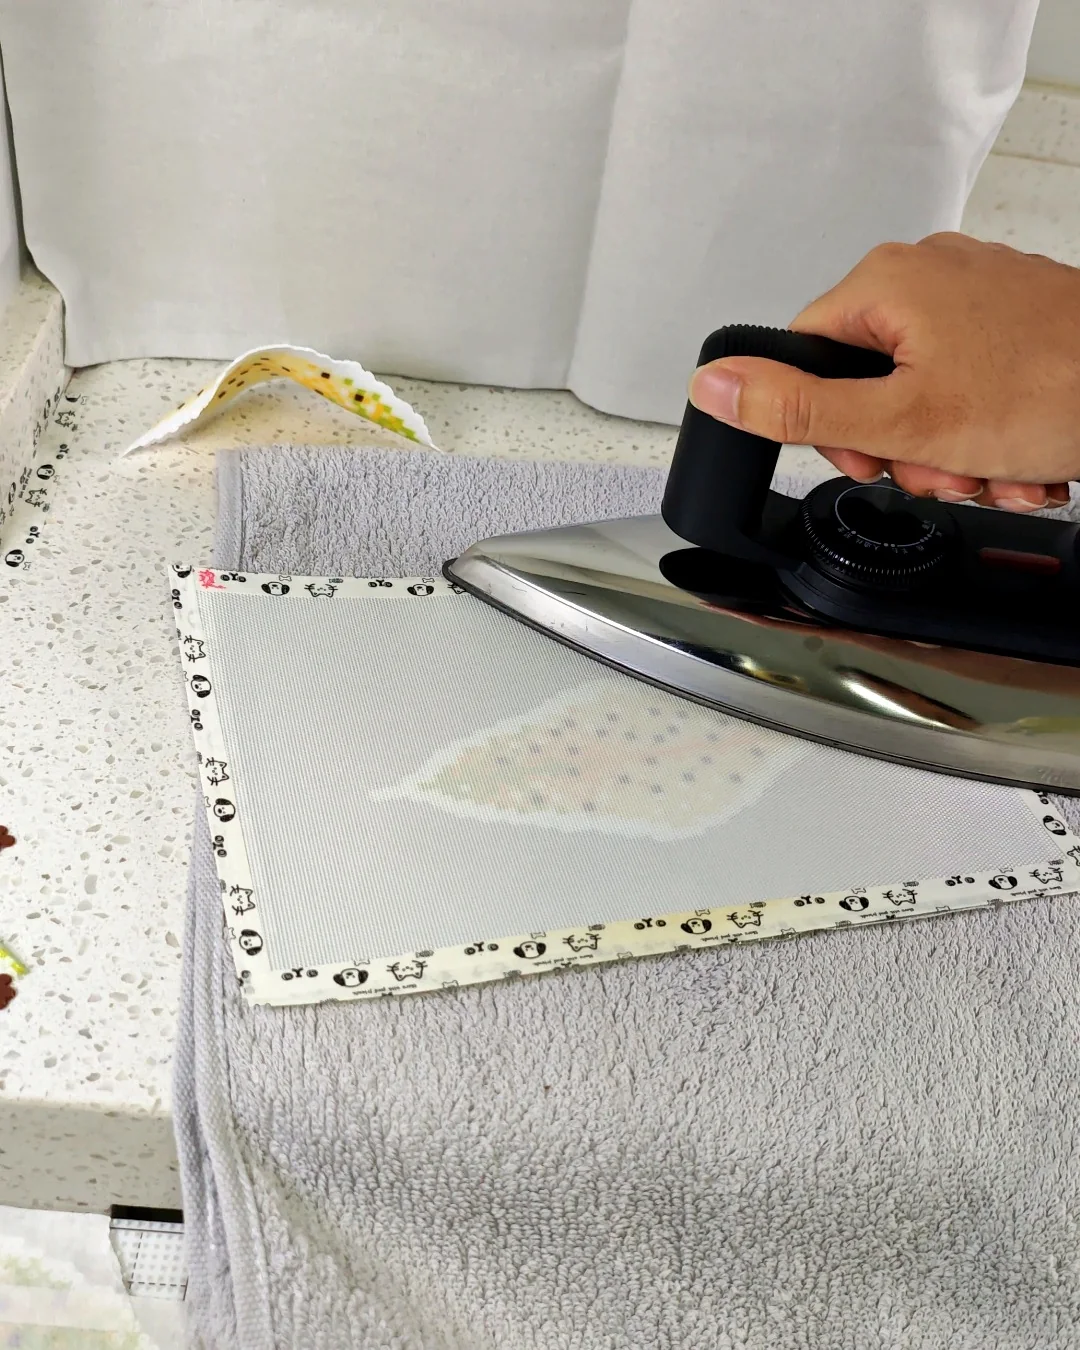
- Masking tape, ironing paper, and a no-steam iron
- Heat-safe shaping surface and gloves
- Floral wire or narrow supports for the stamens and stem
- Low-temperature hot glue
Know before you begin
What this studio entry covers
- Original finished-flower reference
- Flat component photo
- Ironing and shaping references
- Assembly preview
- Bouquet-scale finished view
A useful preview
Studio process notes
These are high-level notes from an original studio build. They do not present a complete printable pattern.
Build six matched petal components
Keep the yellow center stripe aligned while varying a few brown spots so the repeated pieces do not look mechanical.
Fuse without flattening the surface
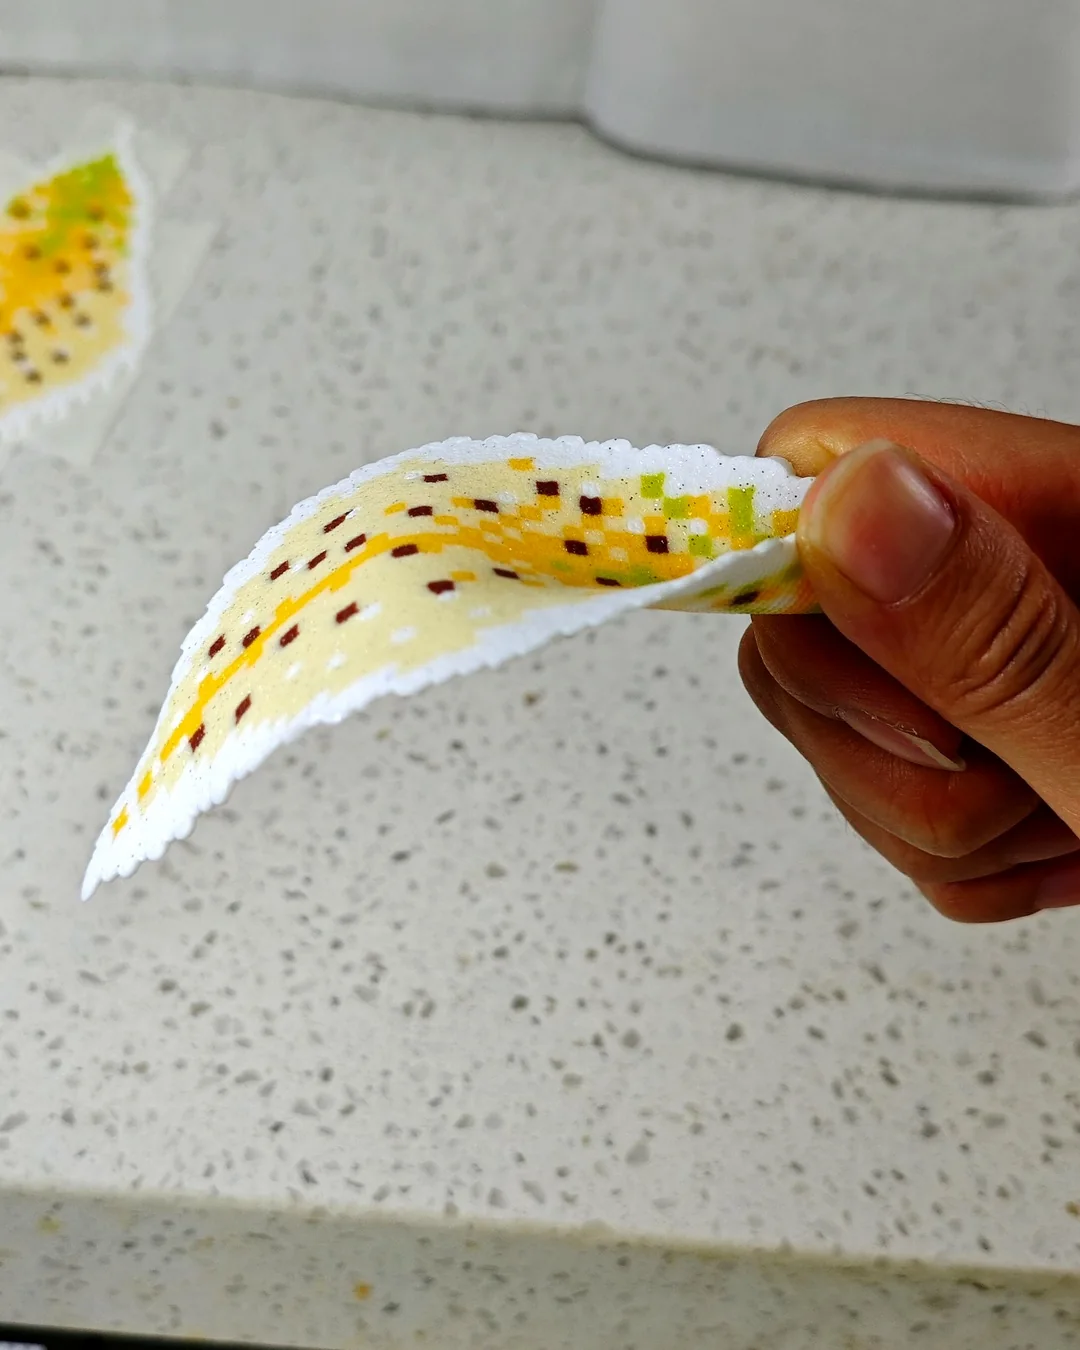
The petals need enough structure to lift and enough flexibility to bend into a long lily curve.
Shape the pointed silhouette
Lift the petal sides and curl the tips outward while the plastic remains warm.
Prepare the stamen cluster
Arrange the long filaments around the central pistil before the petals make the center harder to reach.
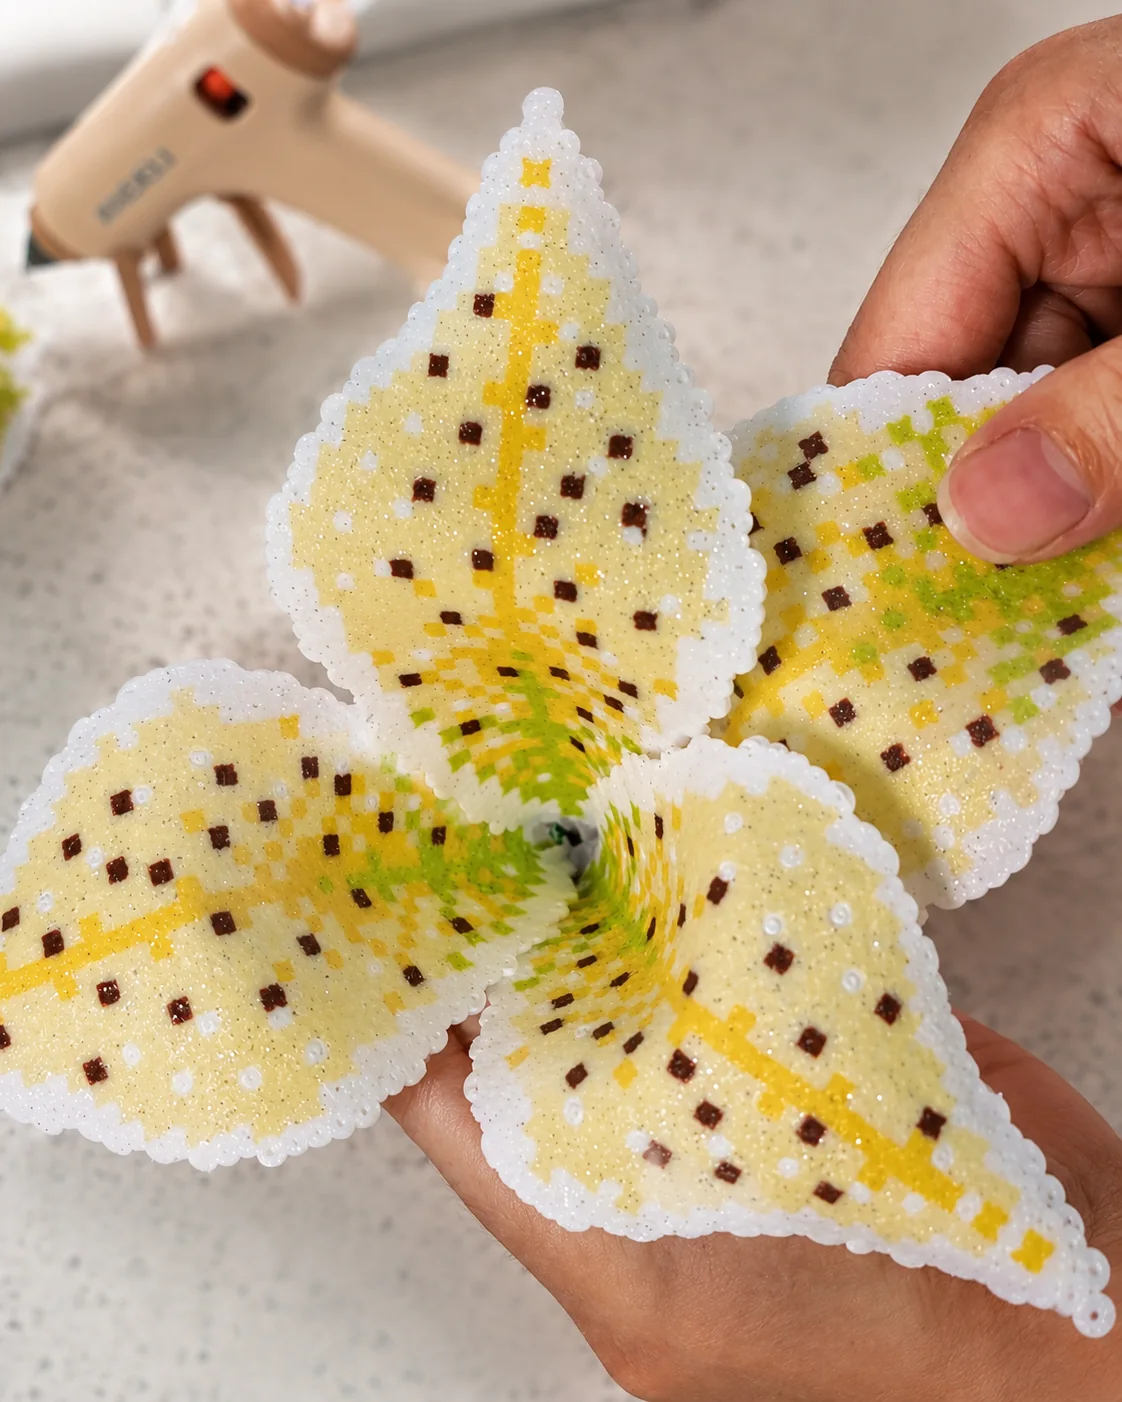
Assemble and balance
Set three petals as the first layer, offset the next three, then adjust the opening from the front and side.
Original studio photos
From flat pieces to finished flower
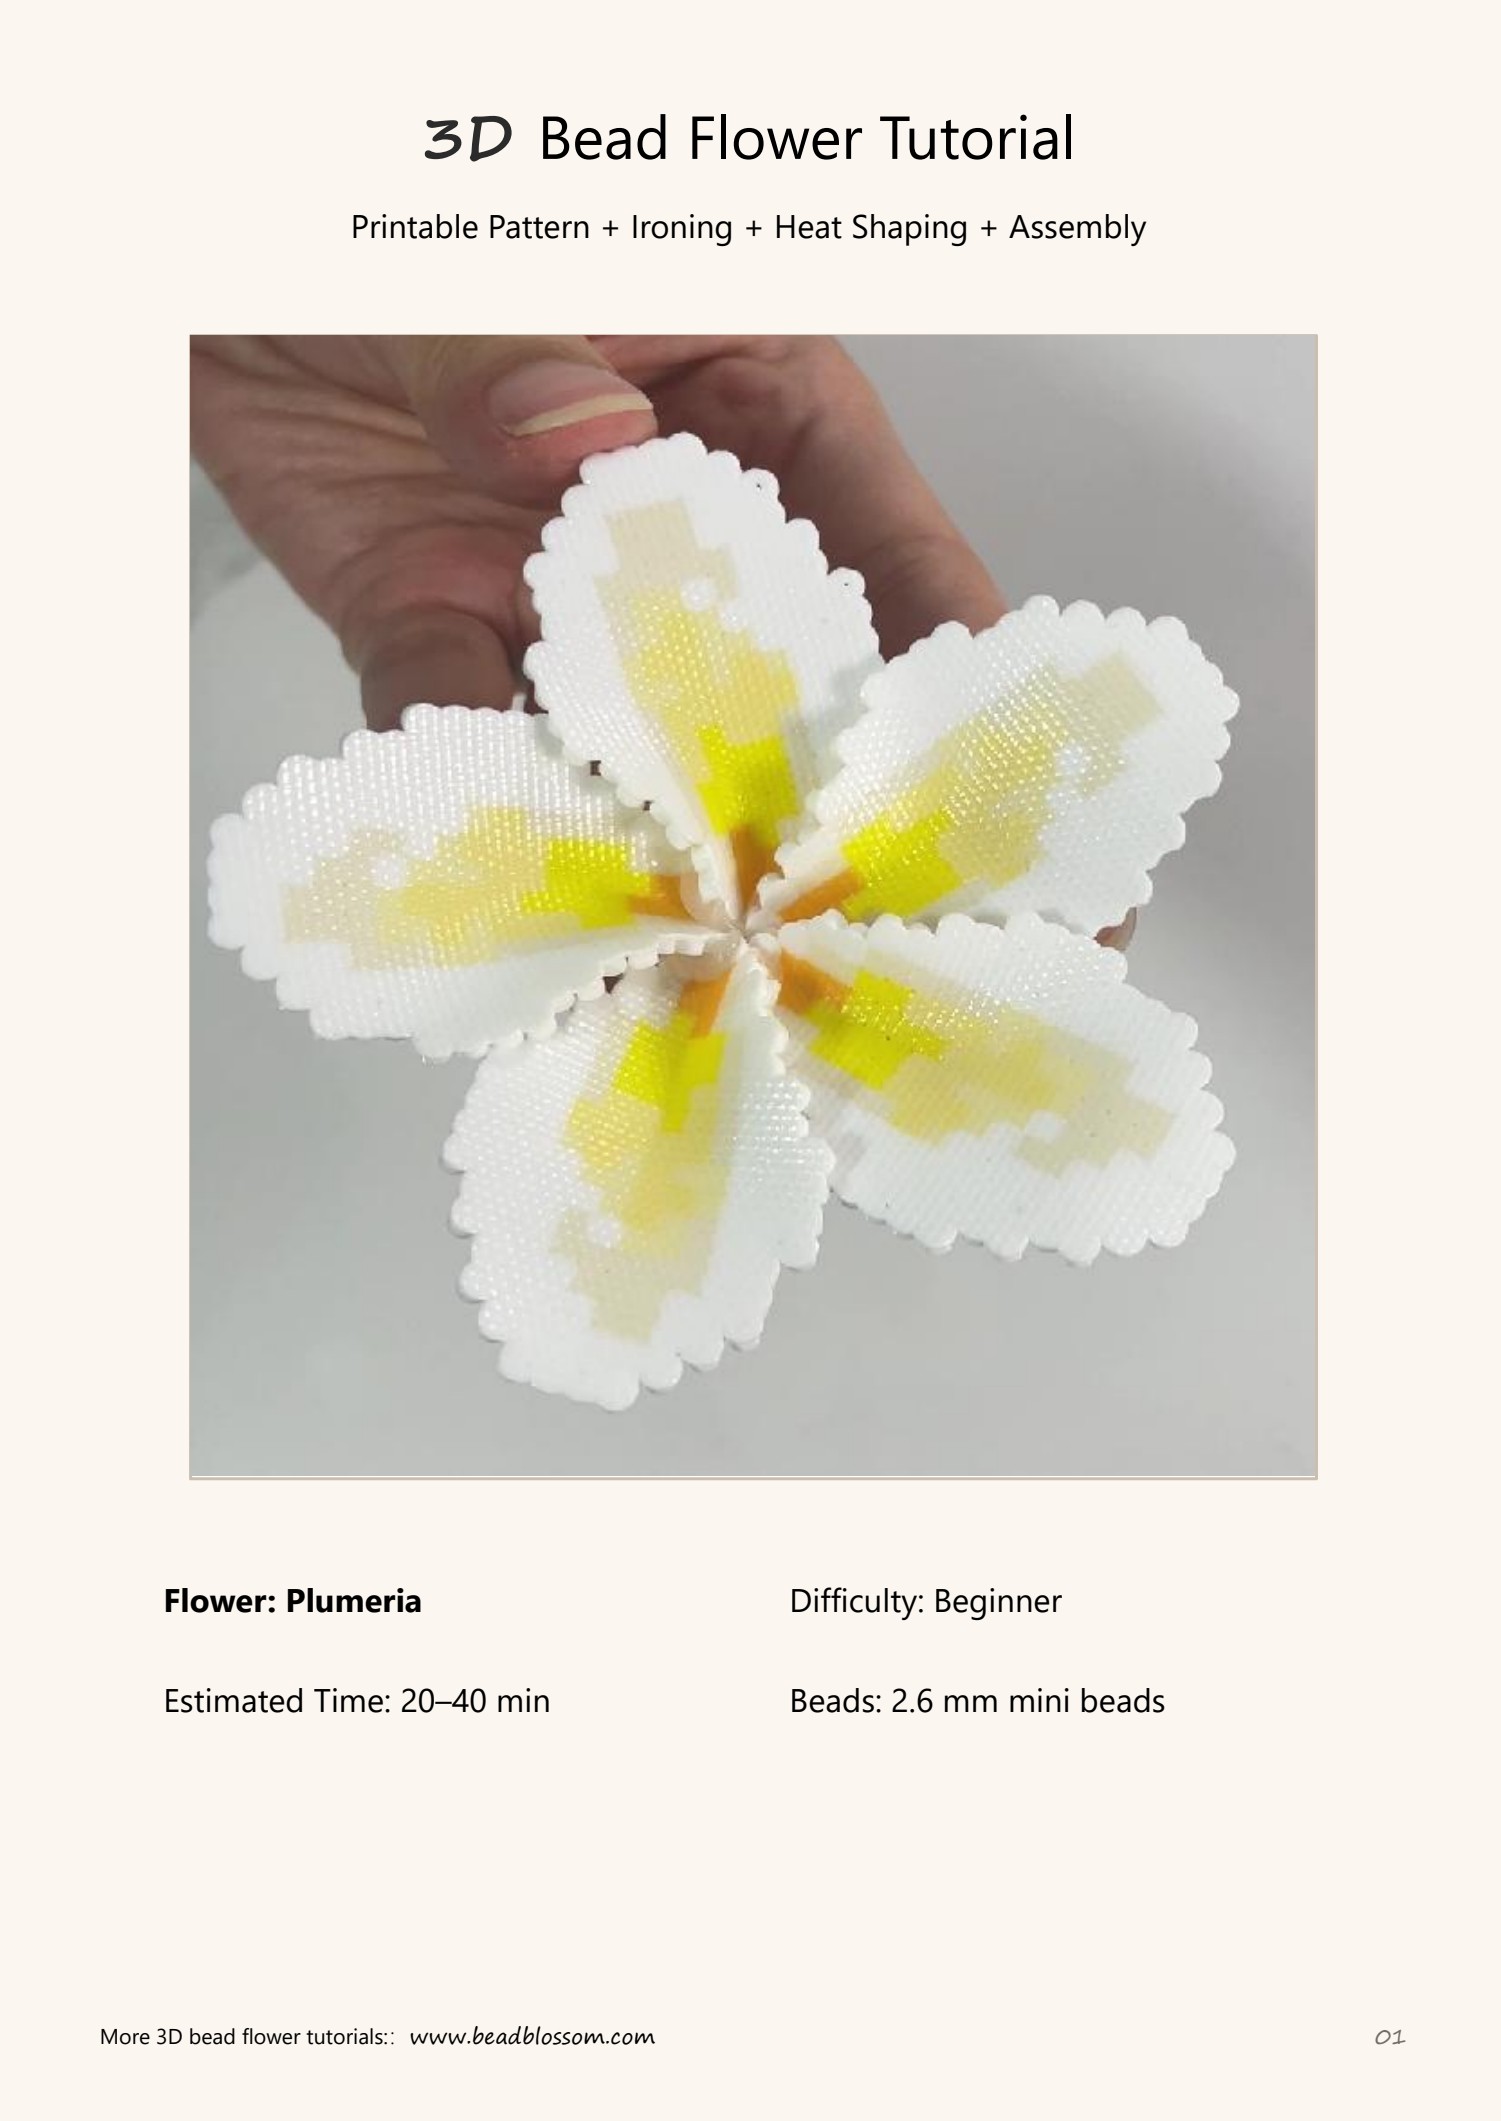
Ready for a released project
Browse released tutorials
Compare buyer-ready PDFs in the Bead Blossom catalog.