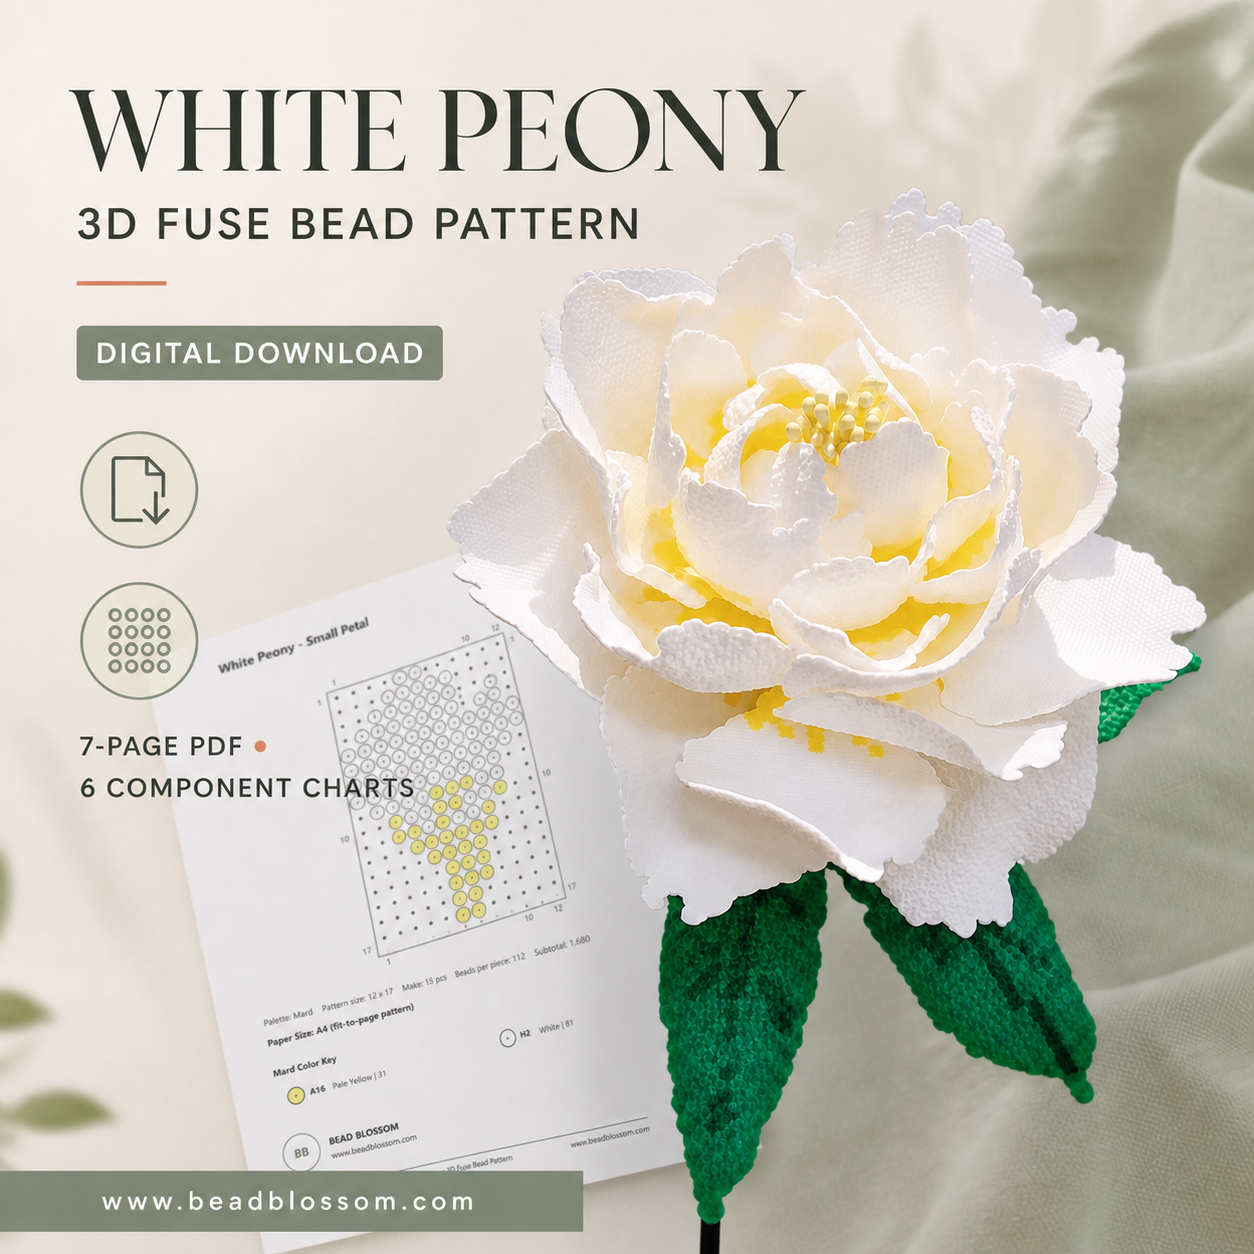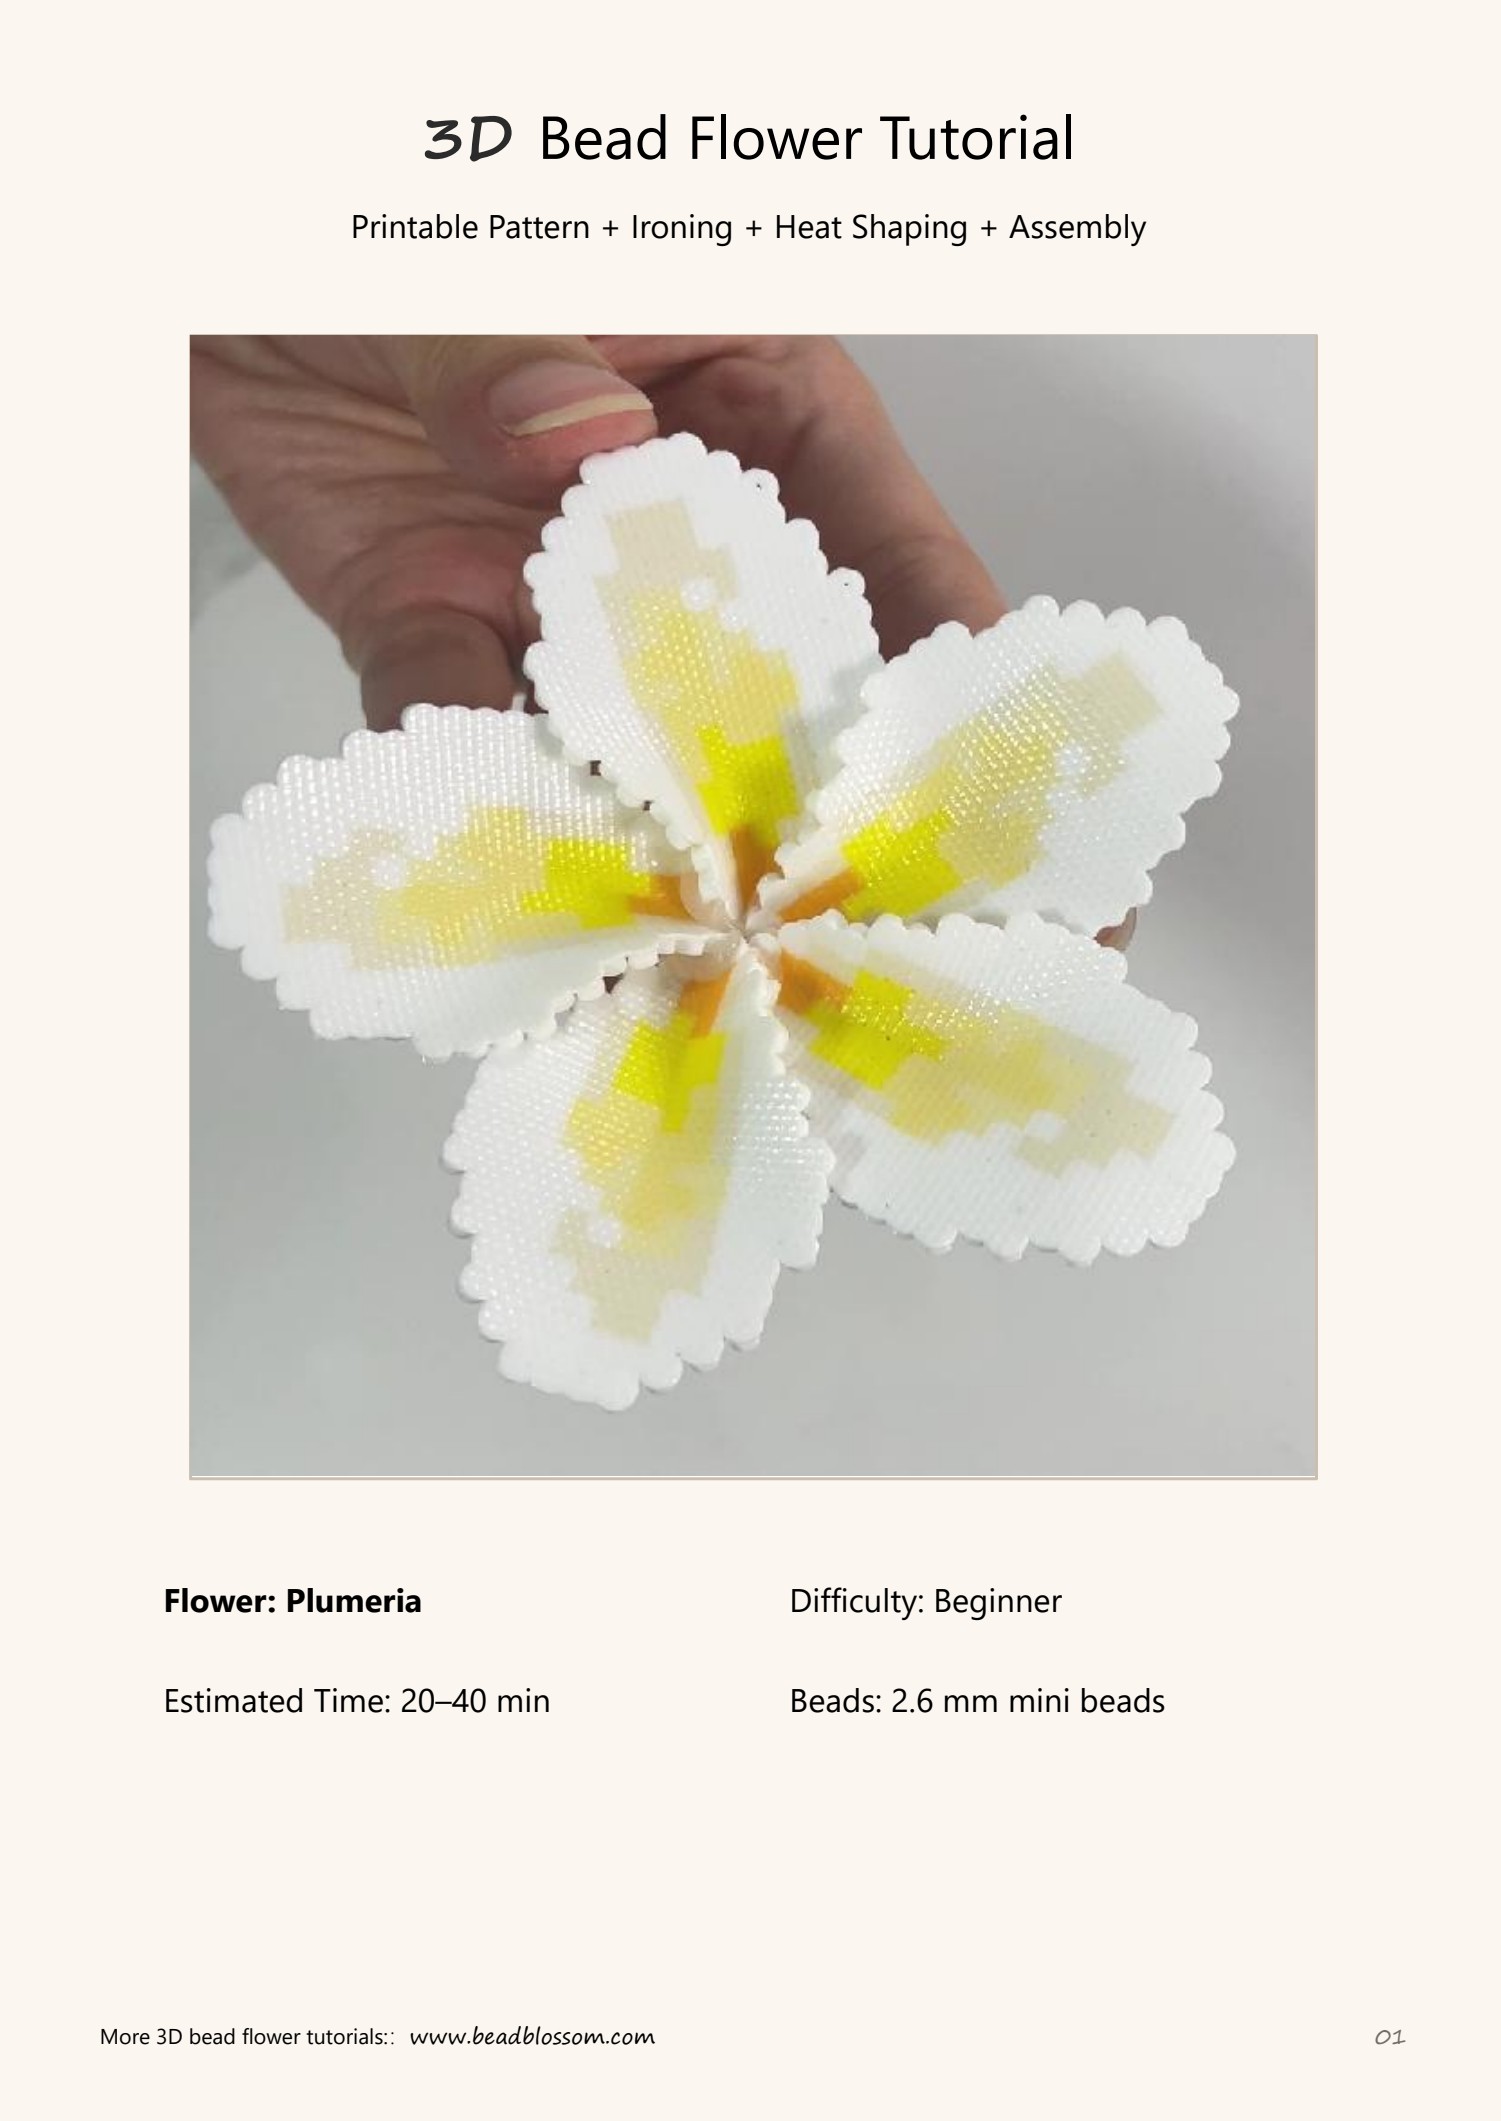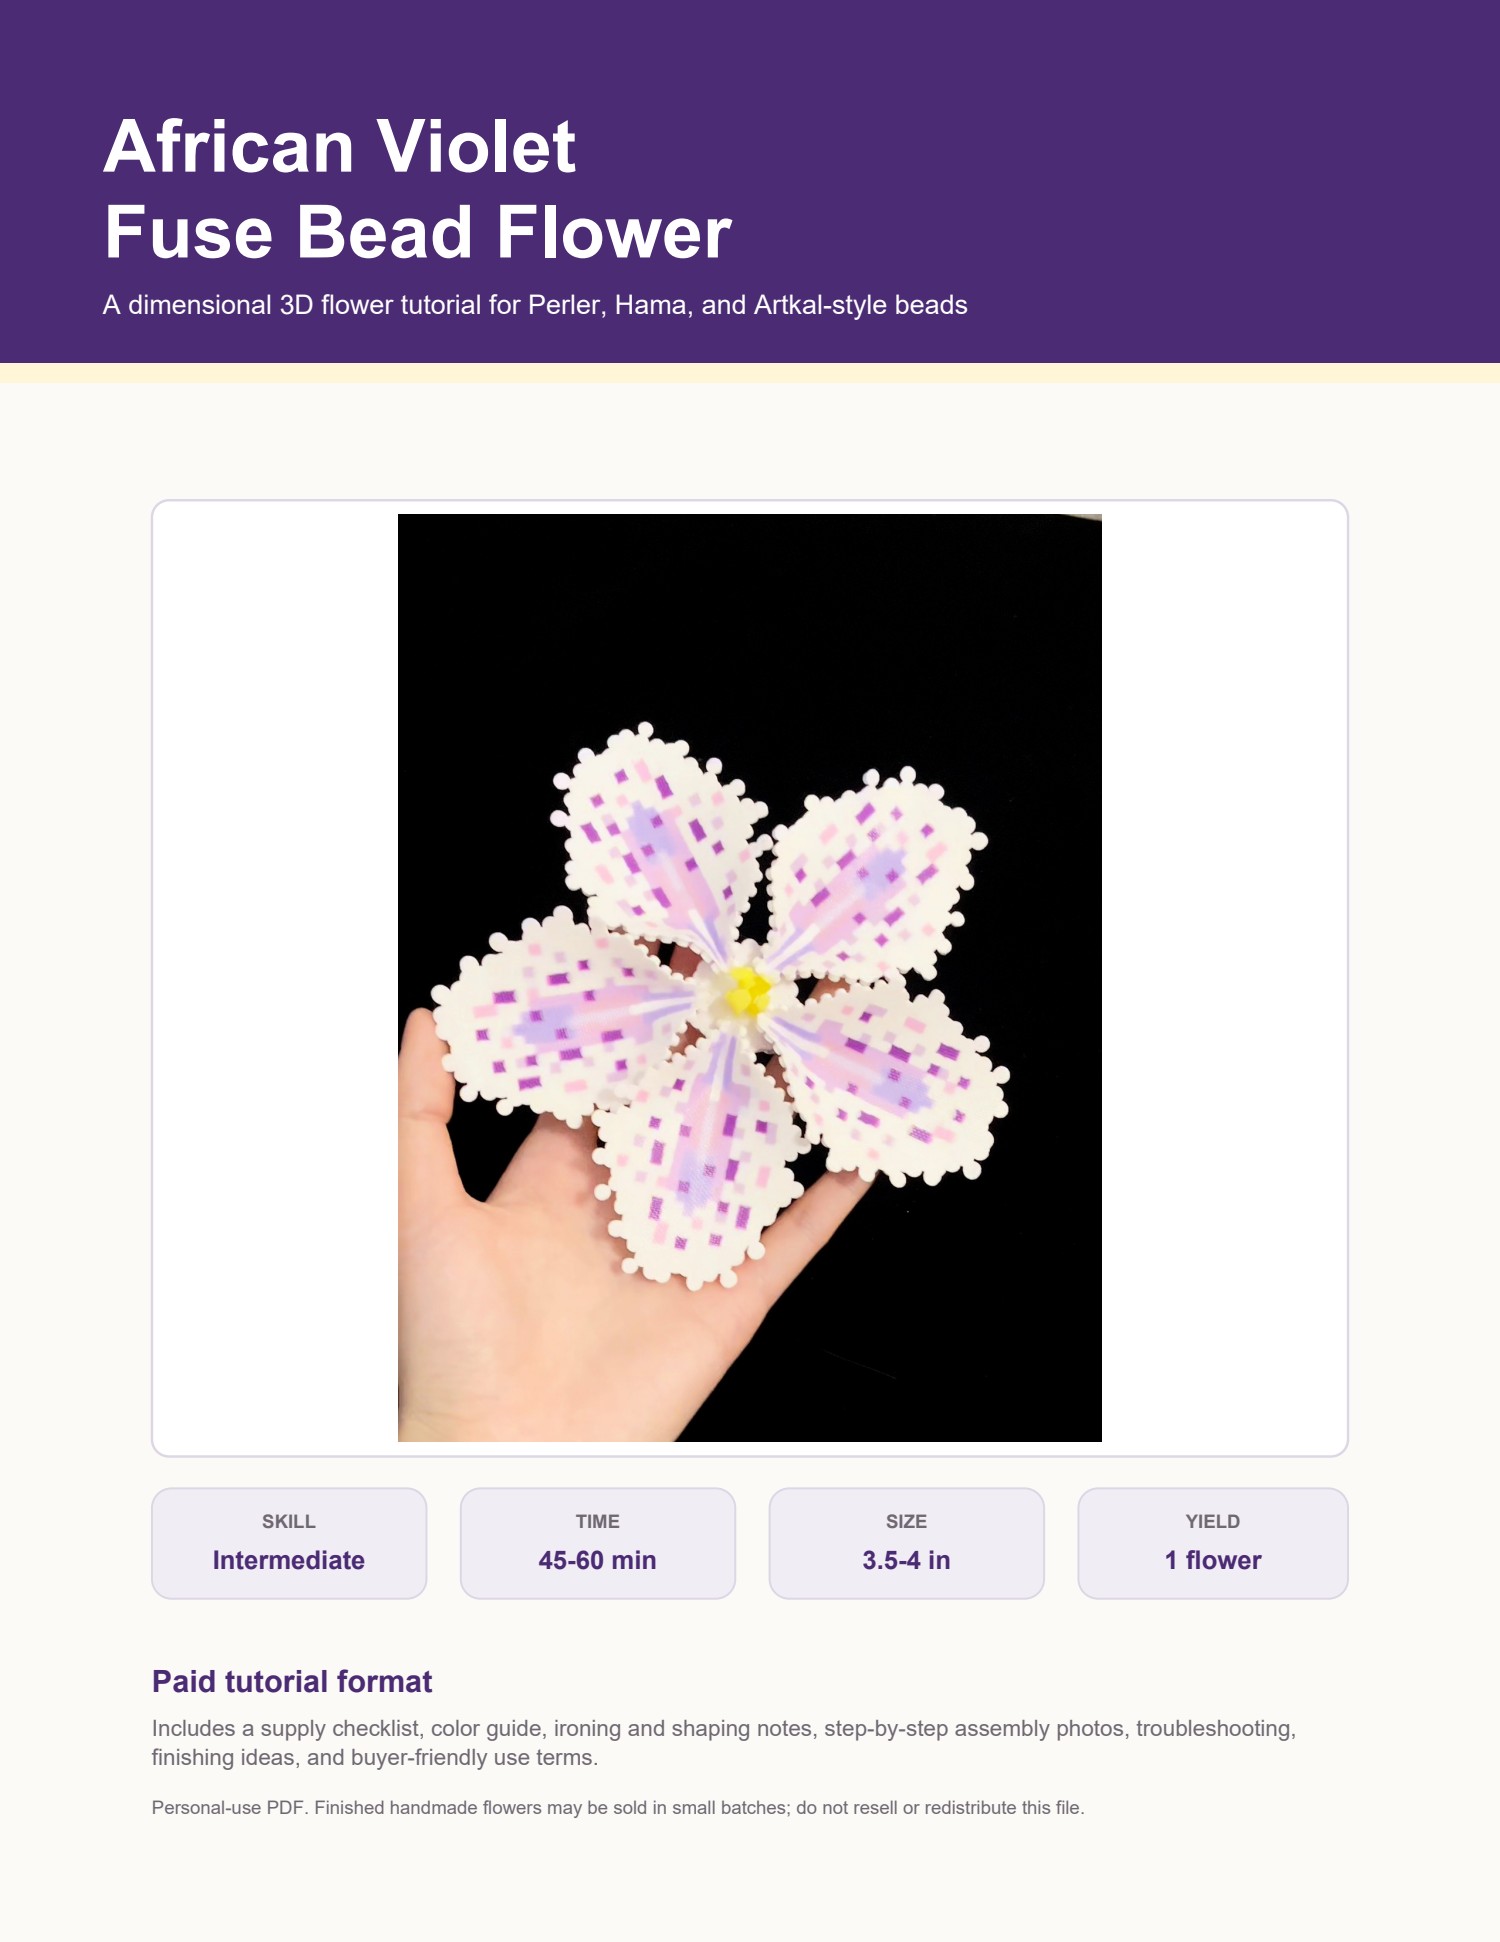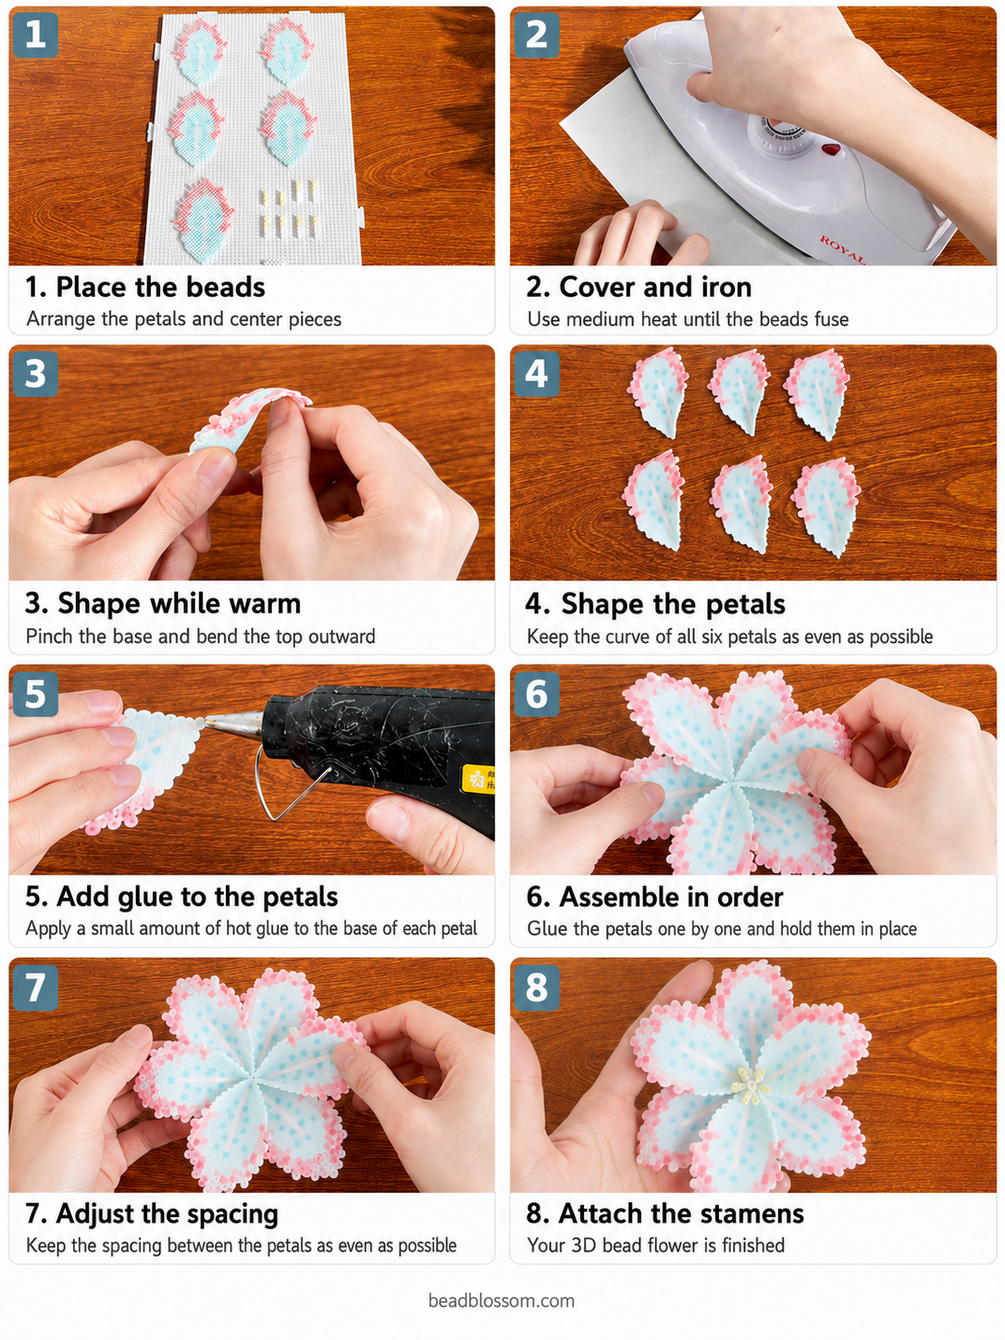
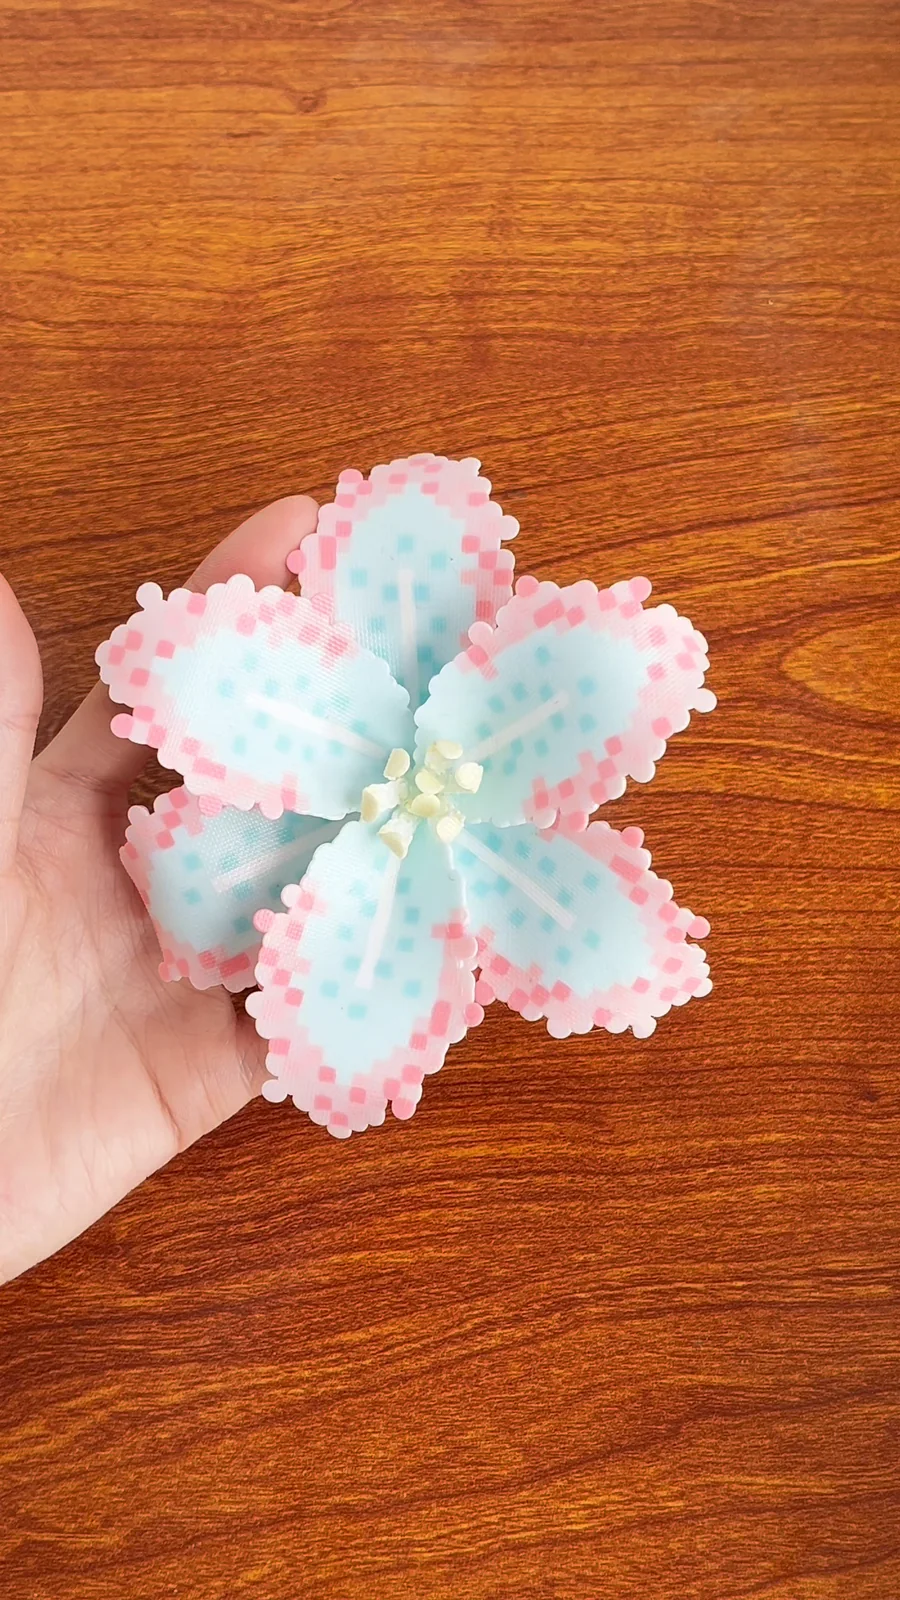
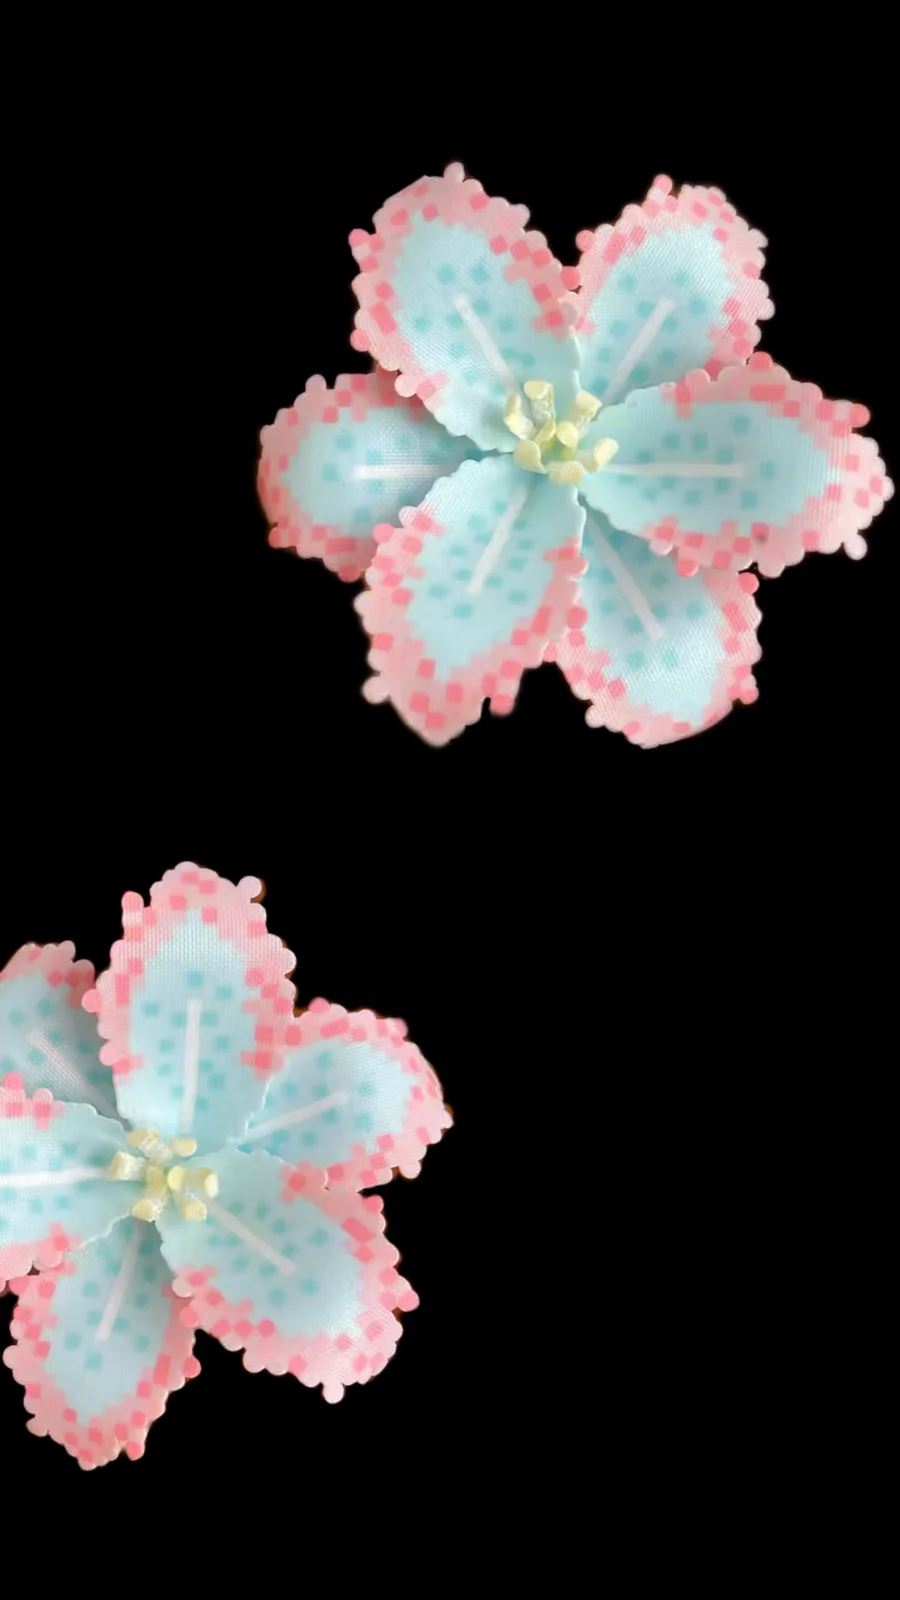
This Catherine tulip-style project uses a pastel 2.6 mm bead palette and a repeatable petal component. The photo sequence follows the real studio workflow from tape transfer and ironing through shaping, petal assembly, and center placement.
Prepare your workspace
What you will need
- 2.6 mm mini fuse beads in pale aqua, pink, white, yellow, and accent colors
- 30 x 30 or larger square pegboard
- Masking tape and a bead scraper for transferring the design
- Ironing paper or baking cloth and a no-steam iron
- Heat-resistant gloves and a heat-safe shaping surface
- Low-temperature hot glue and a floral stem or support wire
Know before you begin
Inside the complete PDF
- Printable flower component chart
- Color and material guidance
- Tape-transfer and ironing sequence
- Warm-shaping photo references
- Petal and flower-center assembly notes
A useful preview
Tutorial workflow preview
This overview shows the workflow. Full-size charts, precise color references, complete photos, and troubleshooting remain inside the downloadable PDF.
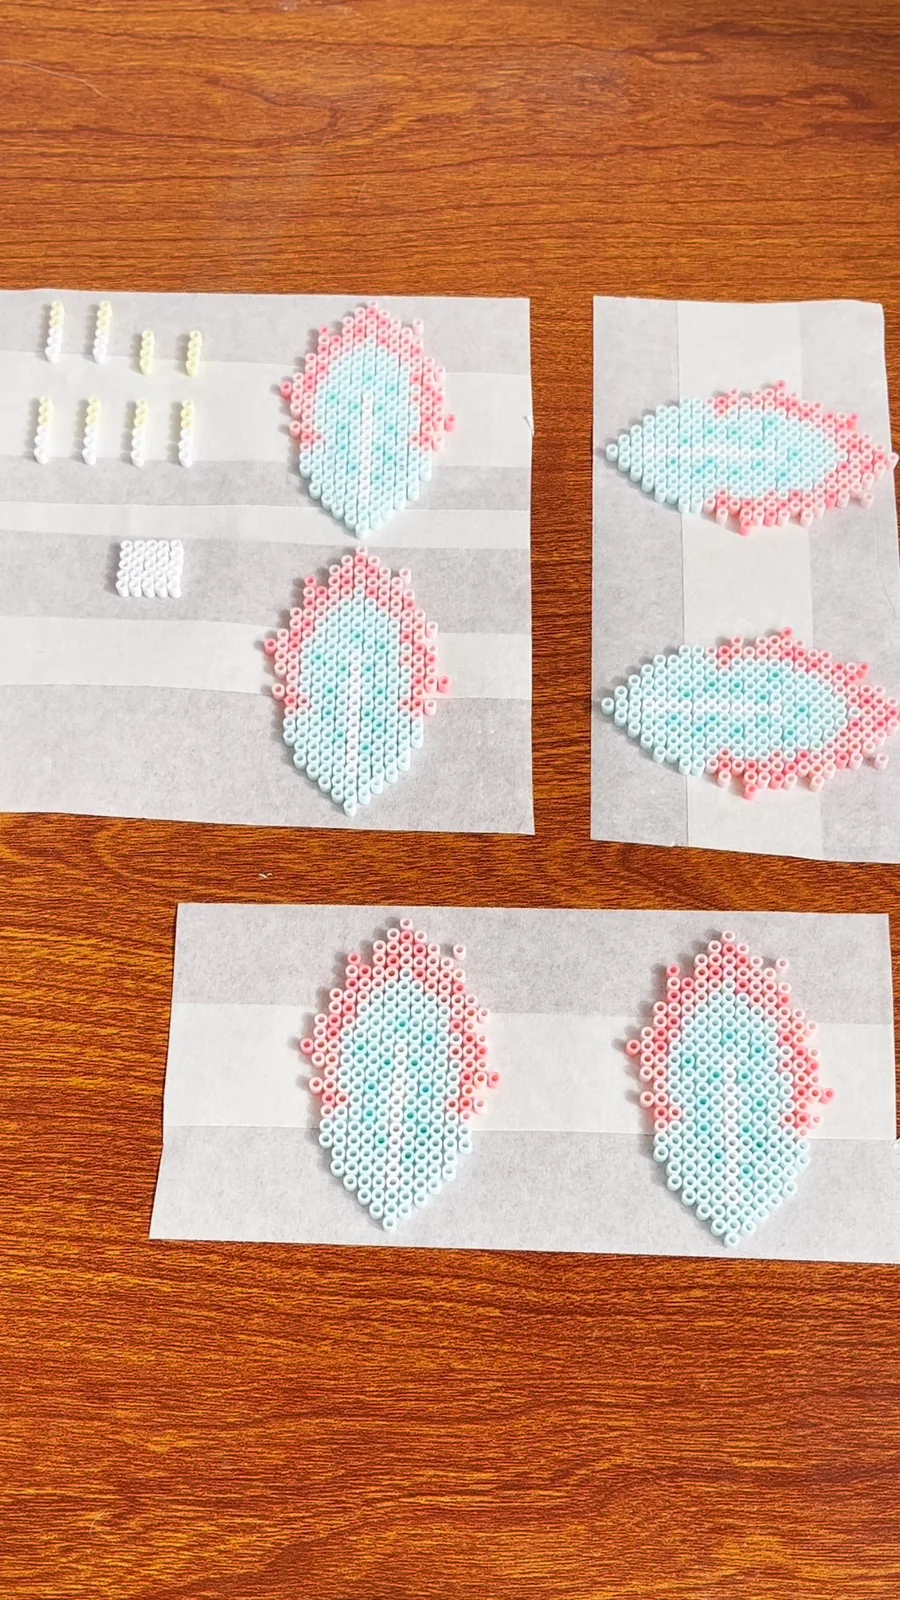
Transfer the bead layout
Use overlapping masking-tape strips to lift the complete component cleanly from the pegboard without disturbing the color placement.
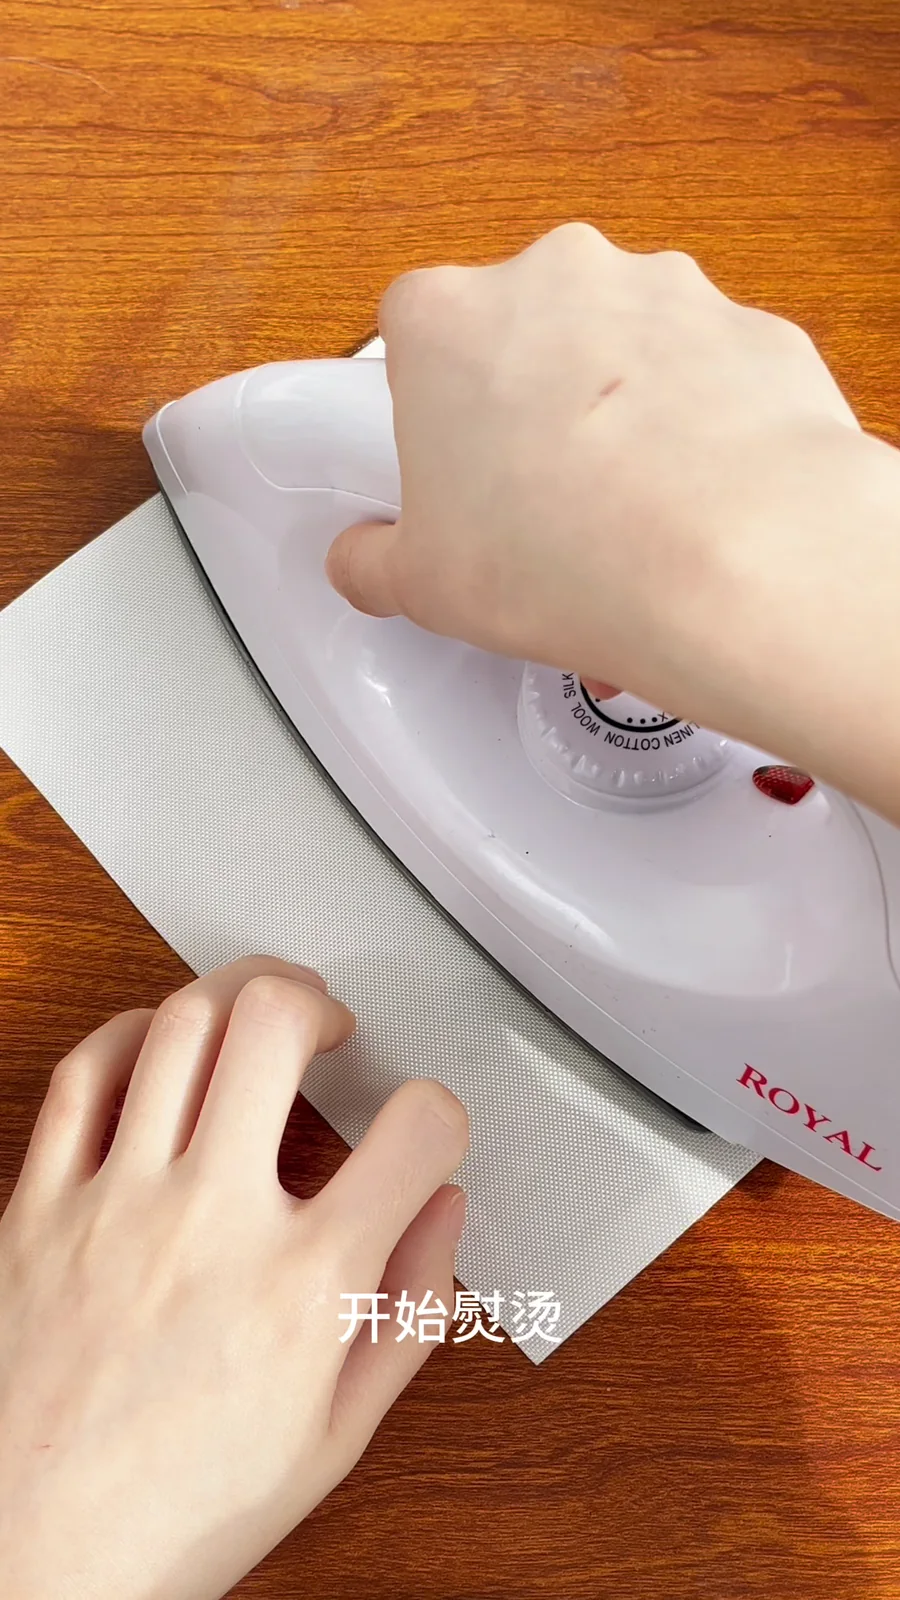
Fuse with controlled heat
Cover the taped piece and work in small circles. Stop once the beads are connected but still flexible enough to curve.
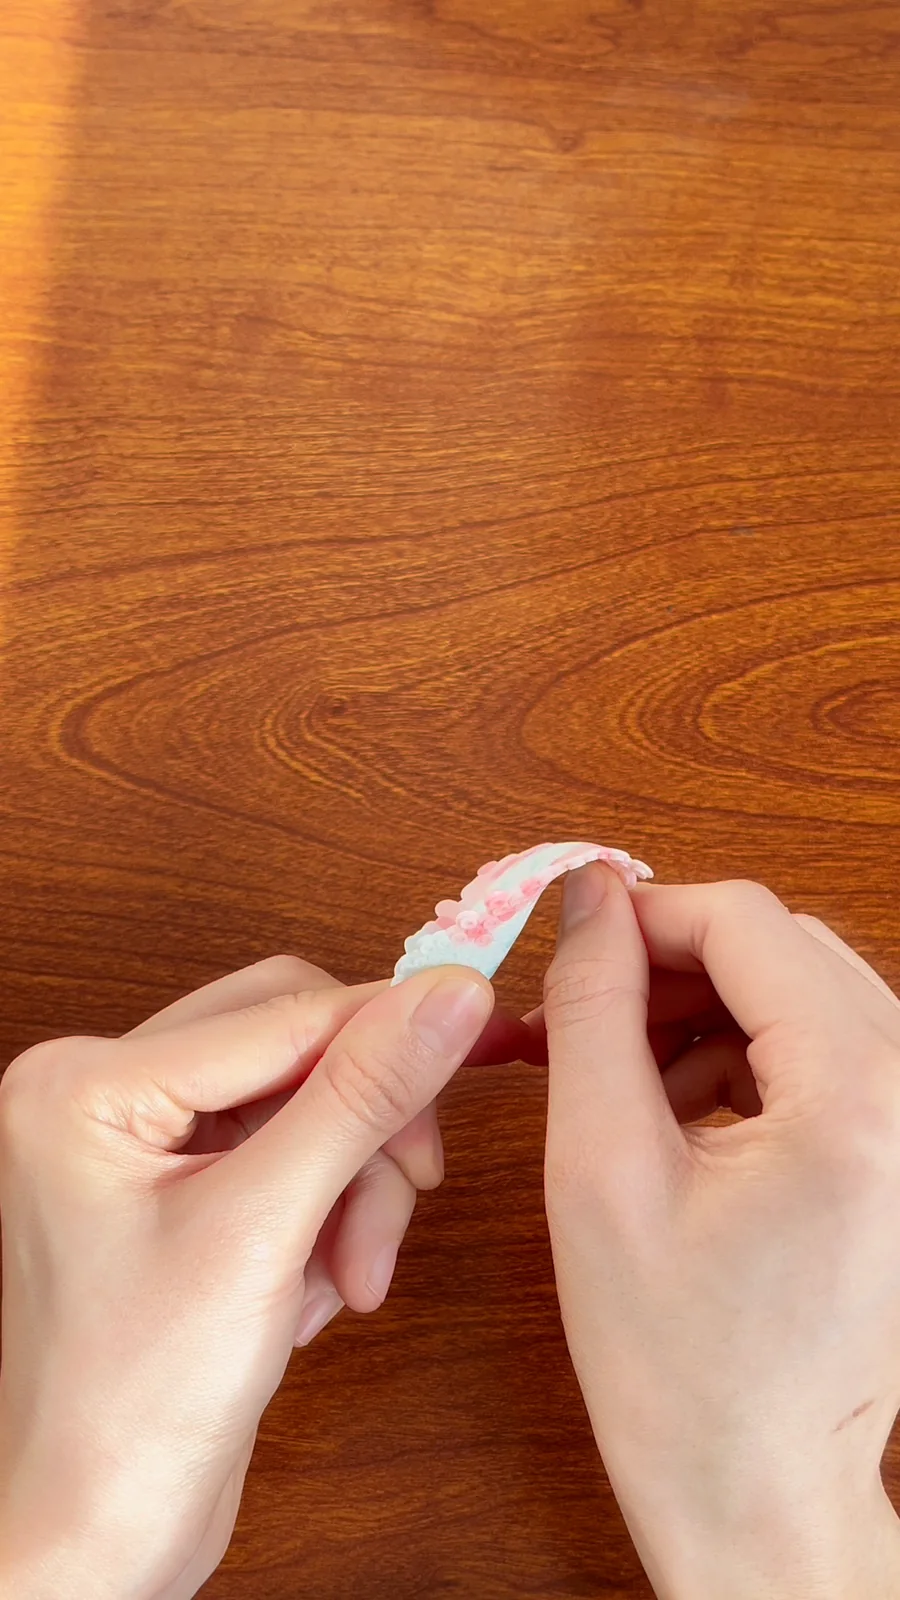
Shape the warm petals
Support the center line, lift the edges, and hold each curve until the piece cools. Keep the six petals consistent rather than perfectly identical.
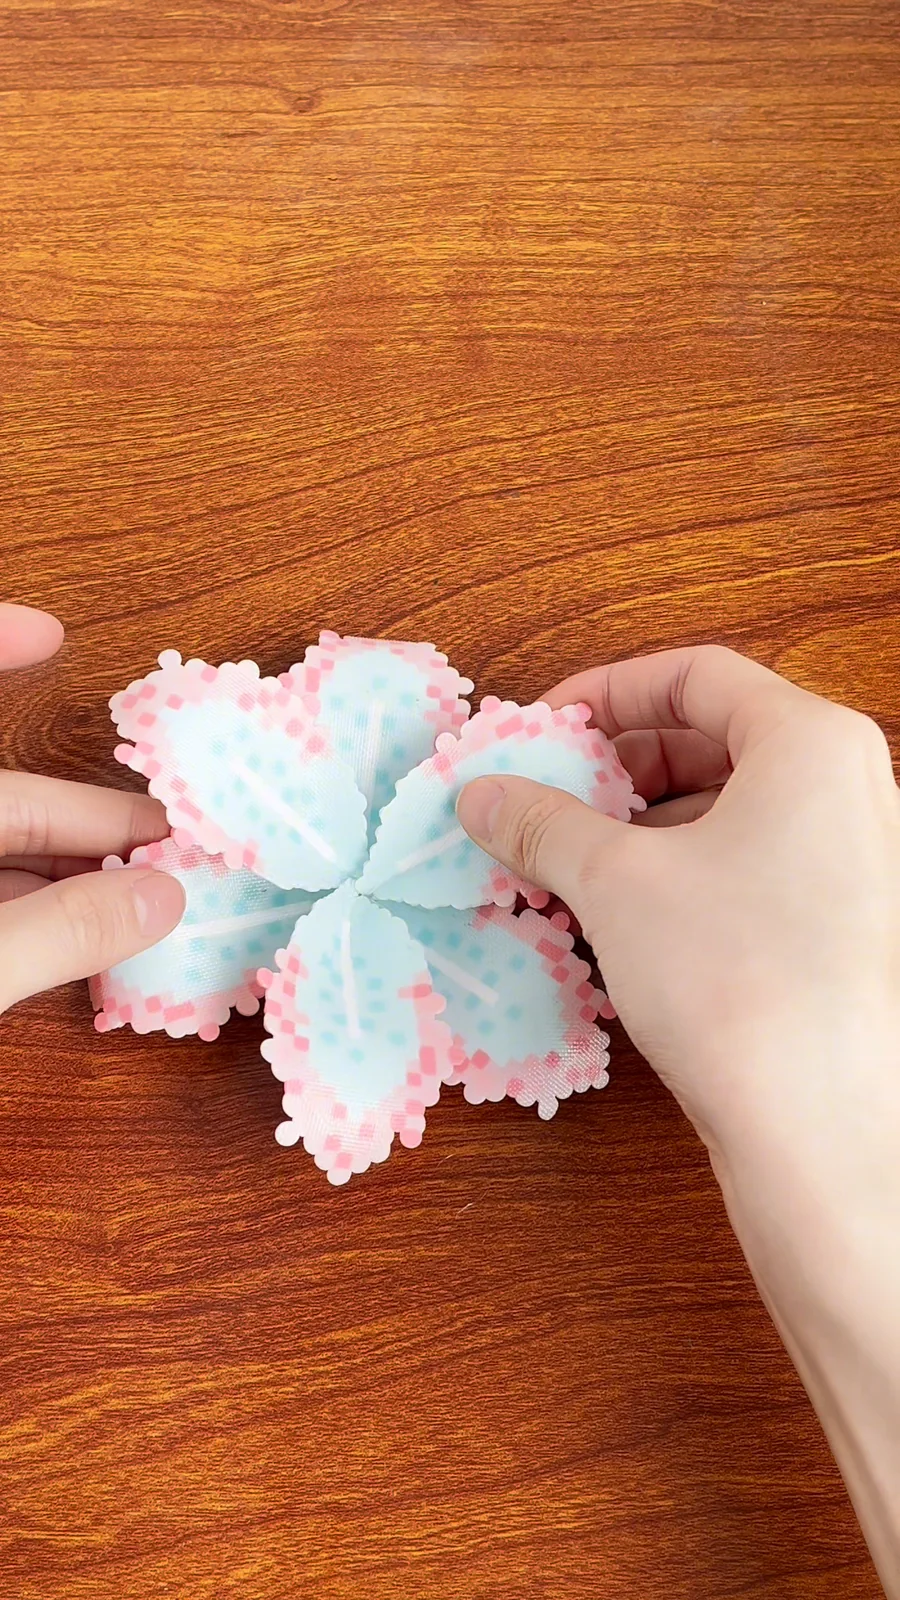
Assemble the flower ring
Arrange the petals around a central support, check spacing from the front, then secure the bases in stages.
Finish the dimensional center
Shape and attach the small yellow center pieces last, varying their angle slightly for a more natural result.
Original studio photos
From flat pieces to finished flower
Keep the full guide beside you
Get the printable tutorial
Open Gumroad for checkout, instant digital delivery, and access from your receipt.
Digital product only. No physical beads, tools, or finished flower will be shipped. Paid files are delivered by Gumroad and are not hosted publicly on this website.