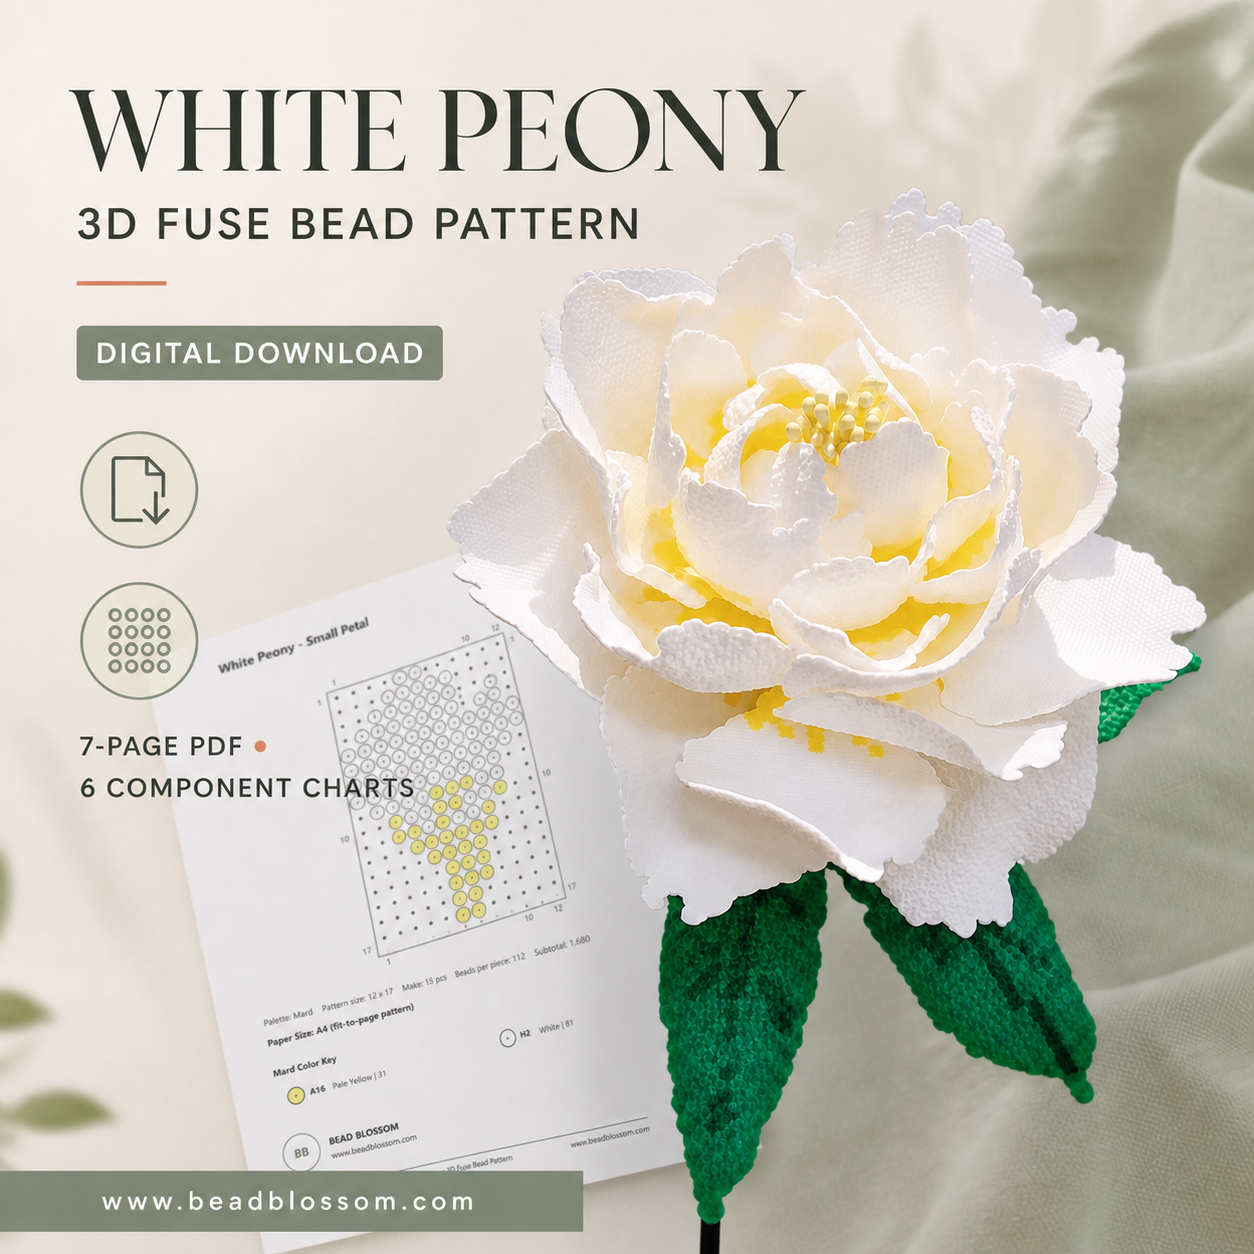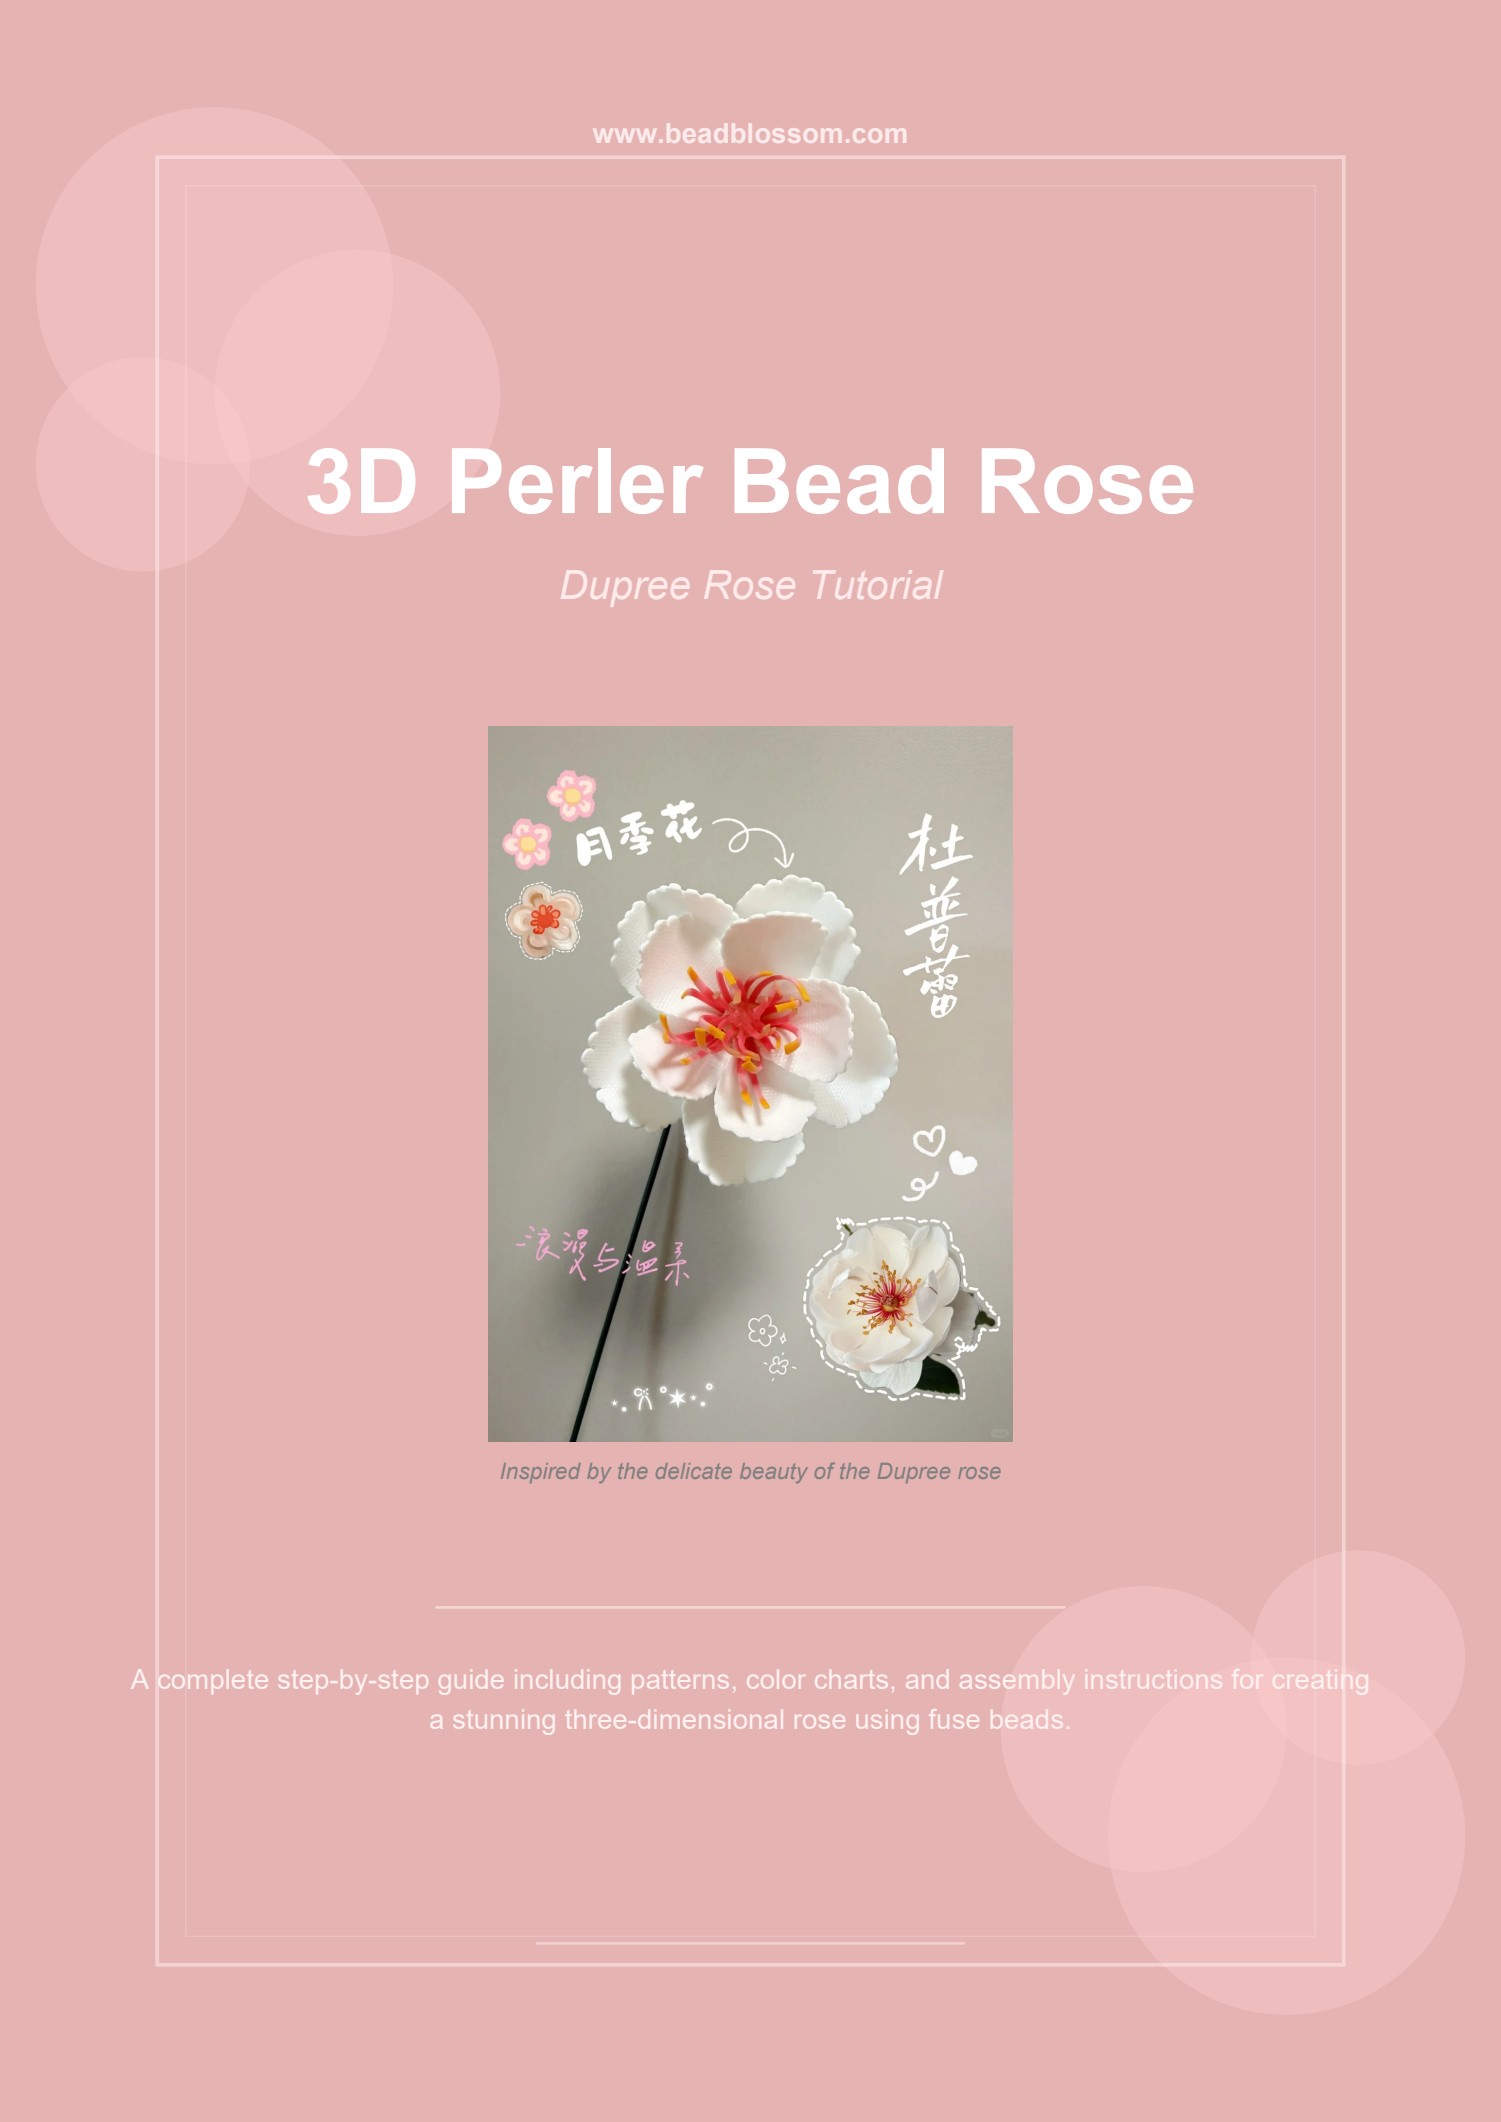
The Dupree rose is built from separate flat components: five large petals, five small petals, two kinds of stamens, a pistil, and a green receptacle. Layer height and petal angle create the final botanical form.
Prepare your workspace
What you will need
- Standard 5 mm fuse beads in white, pink-red, pale pink, olive, yellow, tan, and cream
- Square pegboard at least 20 x 20
- Ironing paper, a no-steam iron, and two cotton pressing cloths
- Fine tweezers and a heat-safe surface
- Clear hot glue and optional floral wire
Know before you begin
Planned for the finished guide
- Complete component pattern
- Seven-color bead chart and quantities
- Two-sided fusing method
- Layering angles and assembly photos
- Detailed center and finishing instructions
A useful preview
Project development preview
The project is still being prepared. These notes show the intended workflow without suggesting that a finished product is available.
Make every component separately
Prepare the large and small petals, long and short stamens, pistil, and green receptacle as individual flat pieces.
Use a two-sided fuse
Press both faces between protective sheets, then cool the pieces under weight so they remain flat before shaping.
Set the five large petals
Attach the outer layer to the green base with a gentle outward tilt, rotating evenly around the center.
Add the small-petal layer
Place smaller petals slightly higher and offset them so they cover the gaps in the first ring.
Complete the detailed center
Install the long stamens, central pistil, and shorter stamens in stages, using tweezers for the final spacing.
Still growing in the studio
Ask about this future release
This page is a preview only; no purchase is available yet.