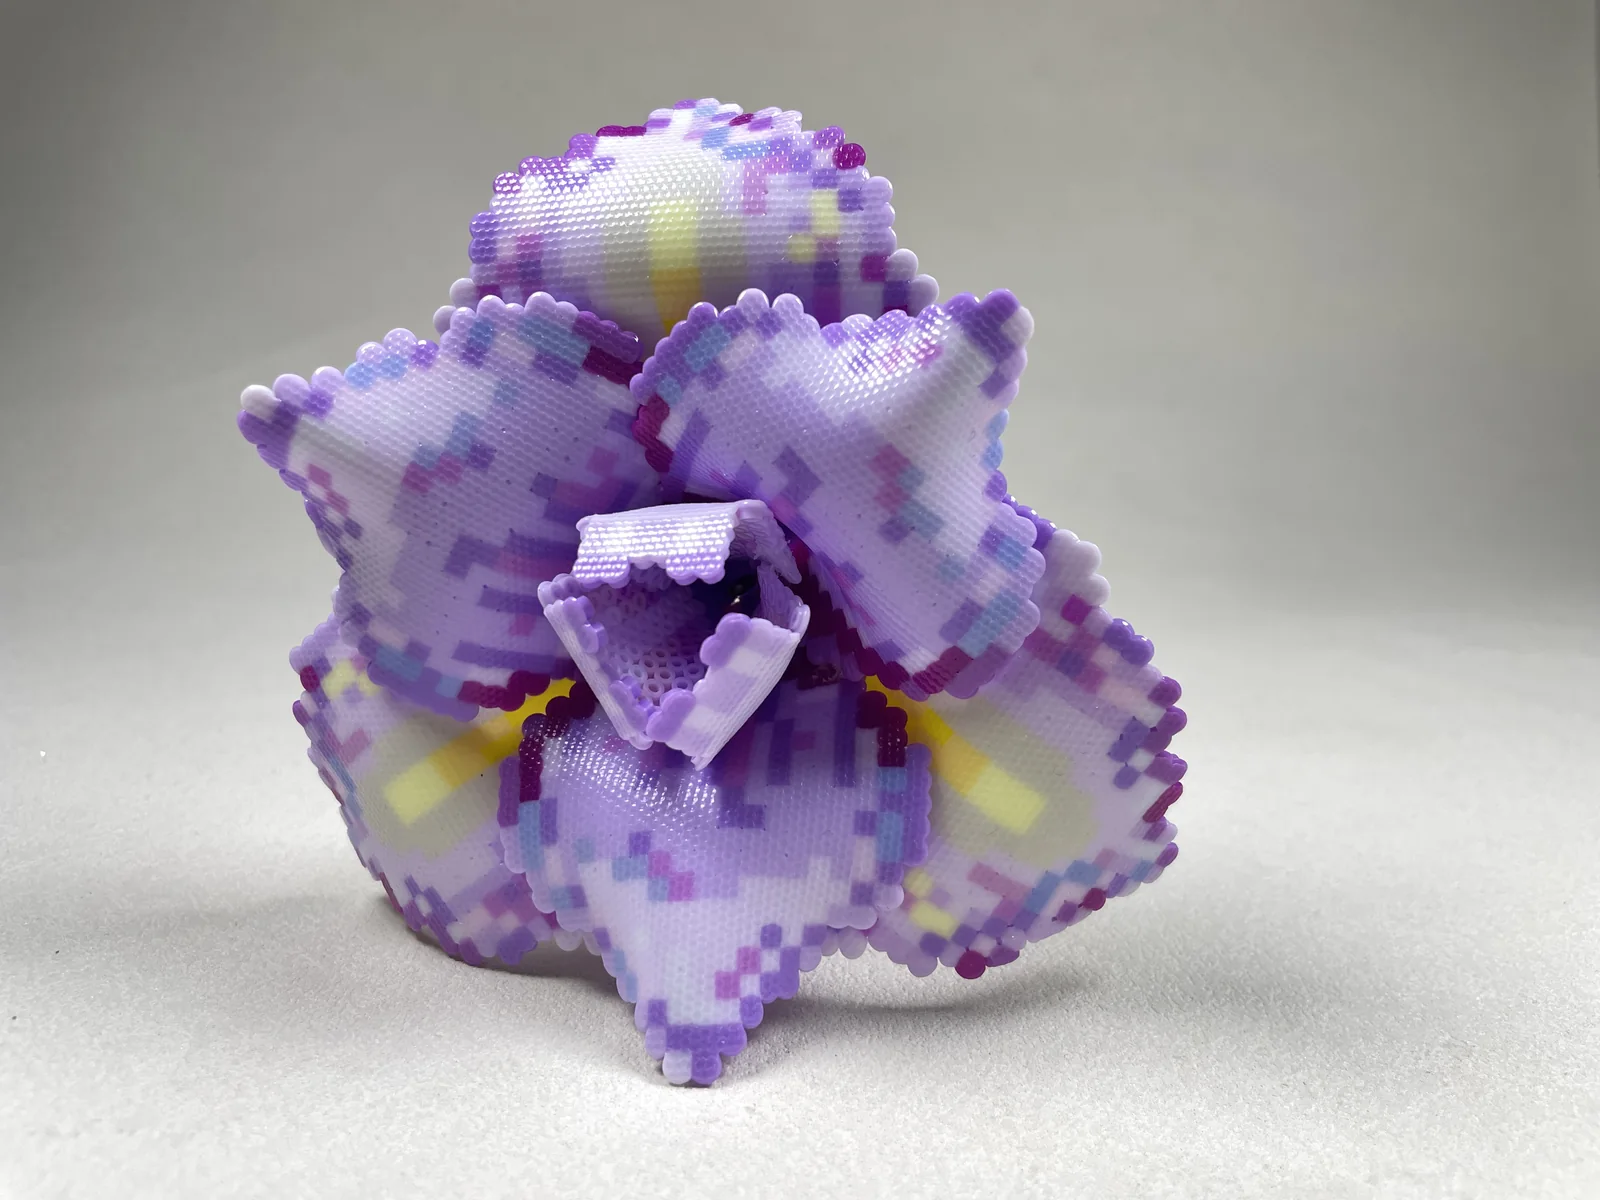
The iris is one of the most structural flowers in the studio archive. Upright inner pieces form a narrow cup, while broad outer petals fold down and forward around a small yellow throat.
Prepare your workspace
What you will need
- Lavender, purple, white, blue, and yellow fuse beads
- Large square pegboard
- Ironing paper and iron
- Heat-safe shaping tools
- Internal support pieces
- Clear or low-temperature hot glue
Know before you begin
What this studio entry covers
- Original finished-flower reference
- Component planning notes
- Compound-curving overview
- Layering sequence
A useful preview
Studio process notes
These are high-level notes from an original studio build. They do not present a complete printable pattern.
Separate inner and outer components
Plan the upright standards and hanging falls as different shapes with different curves.
Preserve the color bands
Light fusing keeps the lavender and yellow directional details readable.
Roll the inner cup
Shape the smaller pieces more steeply and let them cool around a rounded support.
Form the broad outer falls
Curve these pieces forward and downward without creasing the center.
Assemble around the throat
Alternate upright and falling components, then reinforce the hidden base.
Ready for a released project
Browse released tutorials
Compare buyer-ready PDFs in the Bead Blossom catalog.